Motivated by some upcoming time off work, I’ve decided to build out my van. The simple sliding bed I built a couple of years ago was great for weekend trips, but left very little livable space for anything but sleeping.
My original plan was to remove the hardly-used second row of seats, freeing up some additional space. But without the seats, I wasn’t sure how to secure the bed. And the carpet was a nightmare to keep clean on adventures and the floor took up valuable van height. And if I was going to all the work to replace the floor, I might as well replace the walls. And if you give a mouse a cookie…
Eventually I realized it would be easier to just do a full van build out. So I committed and began ripping out sections of the van. This series of blogs will cover how I (hopefully) get everything built back up again.
The first place I decided to start was on the floor. From research online, I knew the crux of the floor would be dealing with the seat mounts. Youtube videos showed a series of thick, 2-inch rails, held down by a row of bolts, which can only be unscrewed from the underside of the van. These bolts are installed before the drive shaft, gas tank, or any other components are installed, making several bolts impossible to access and forcing people to angle-grind the rails or drill out the bolts.
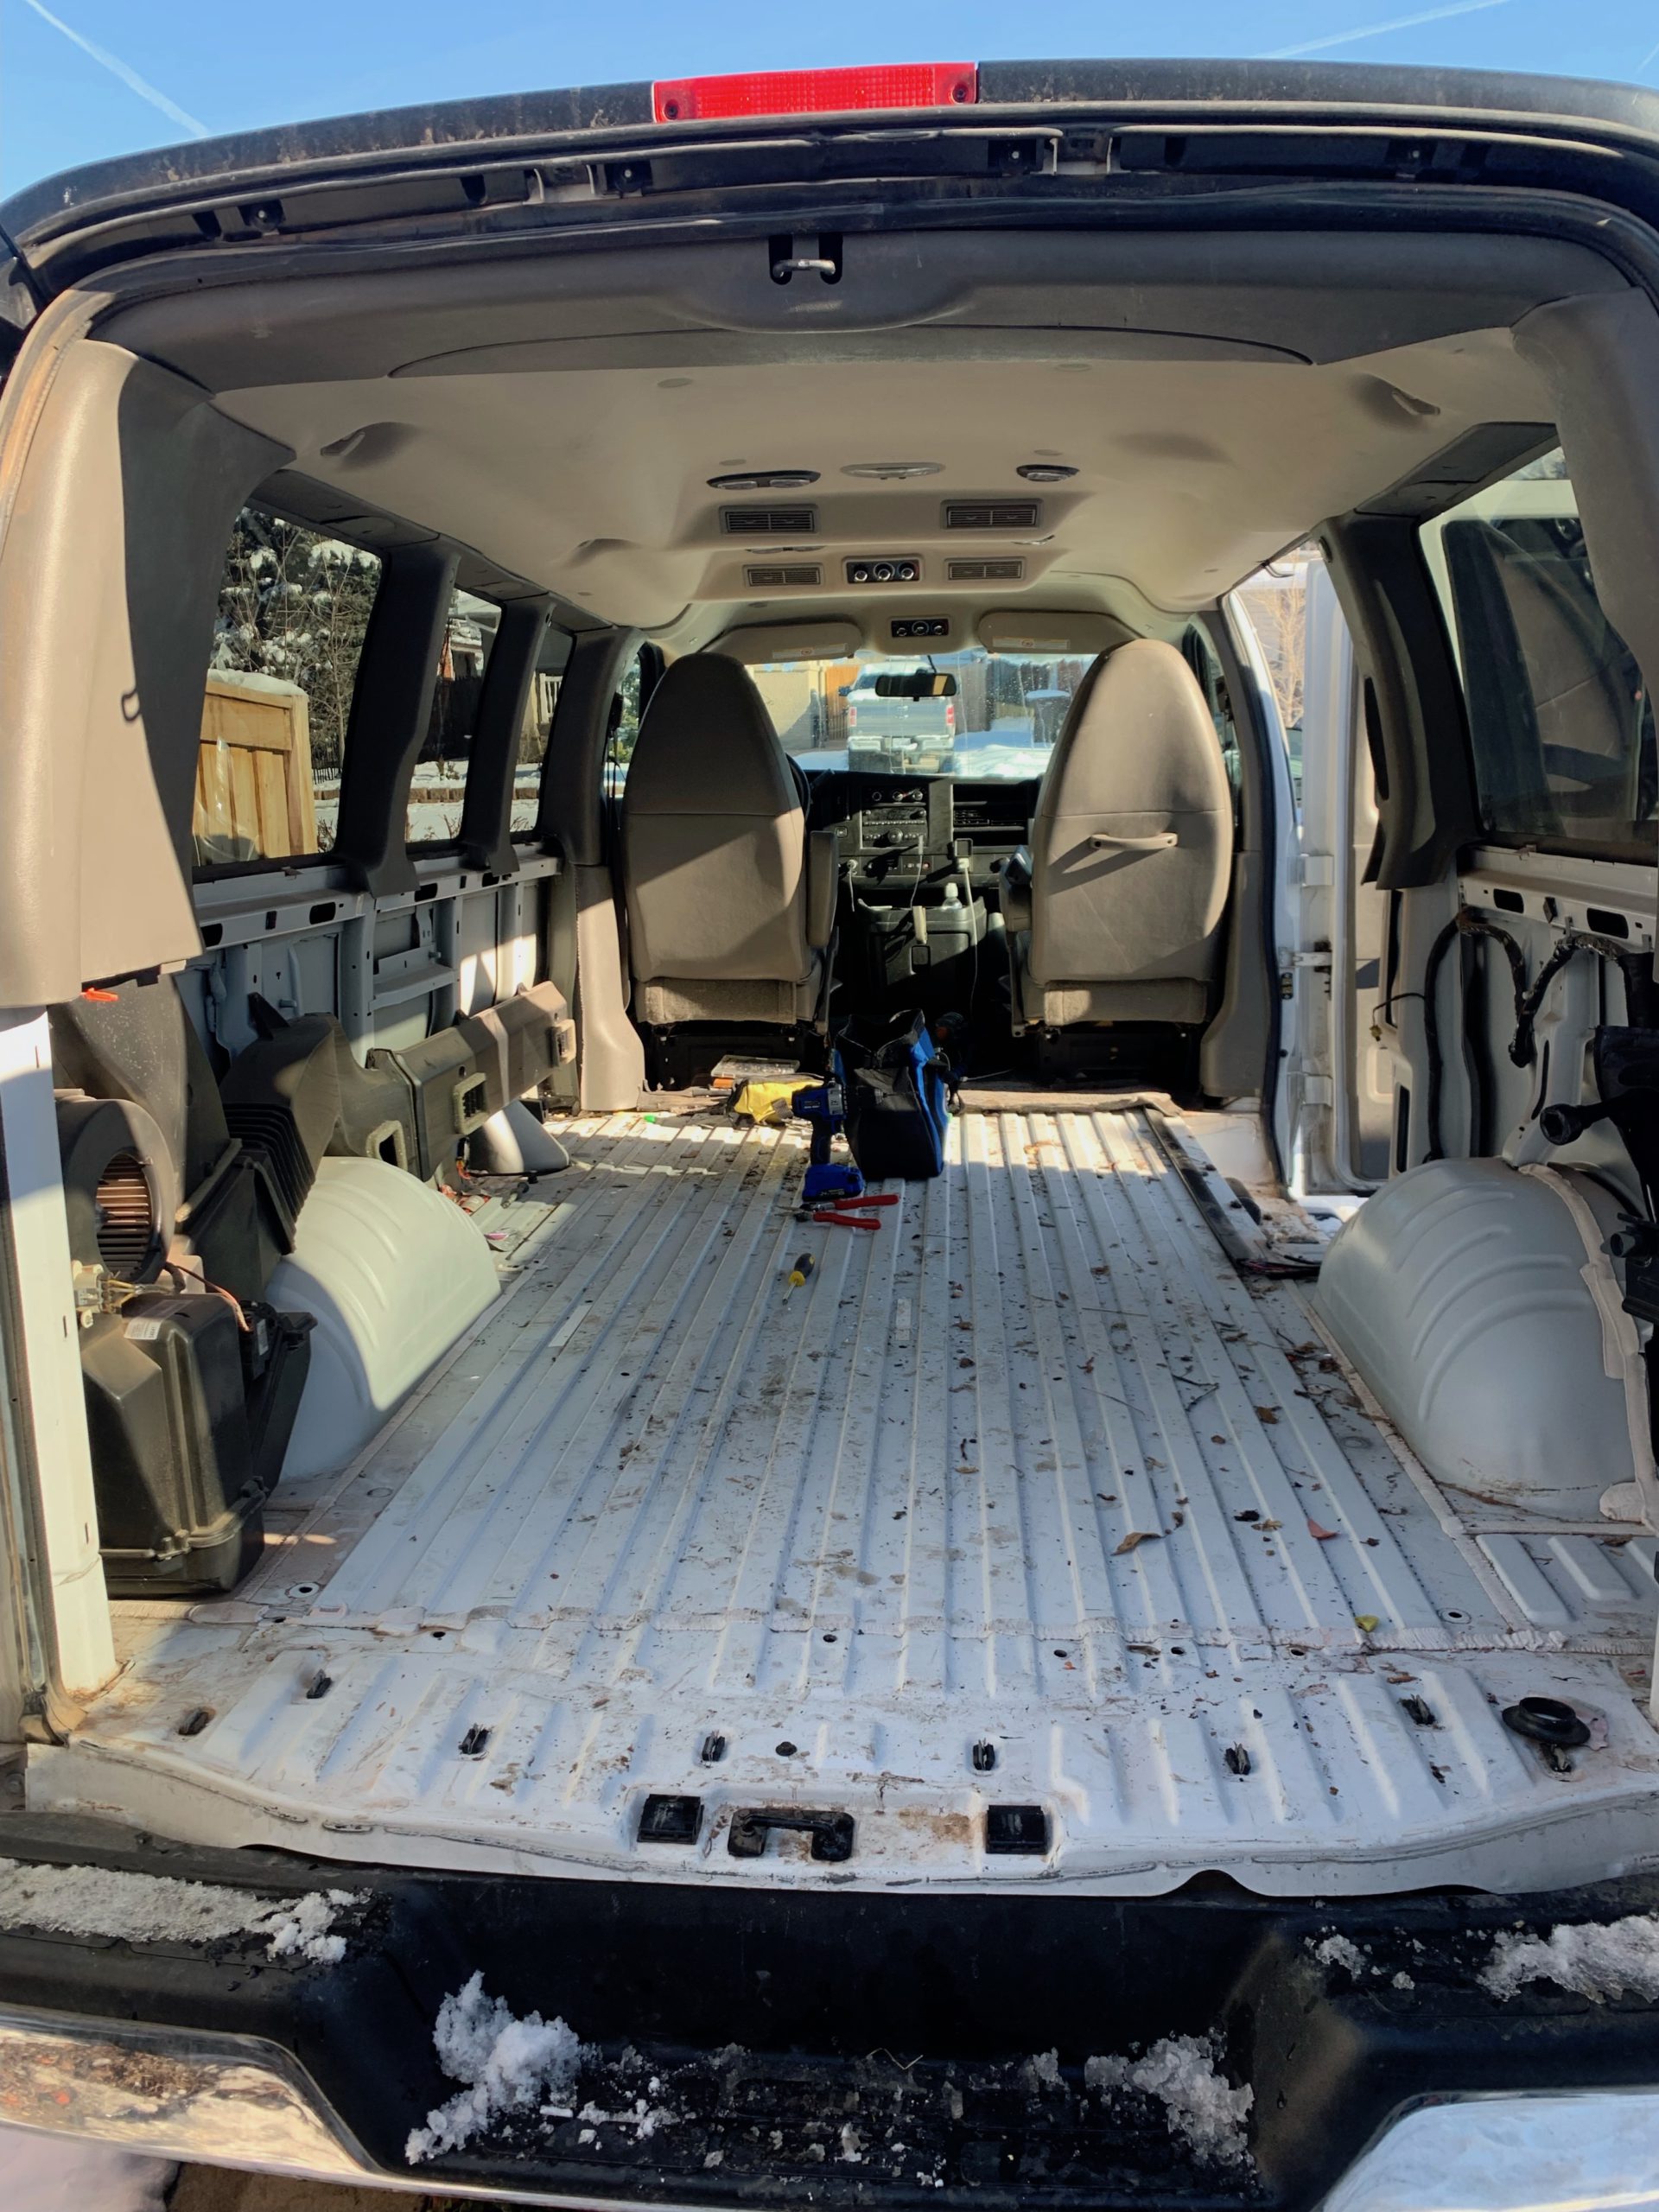
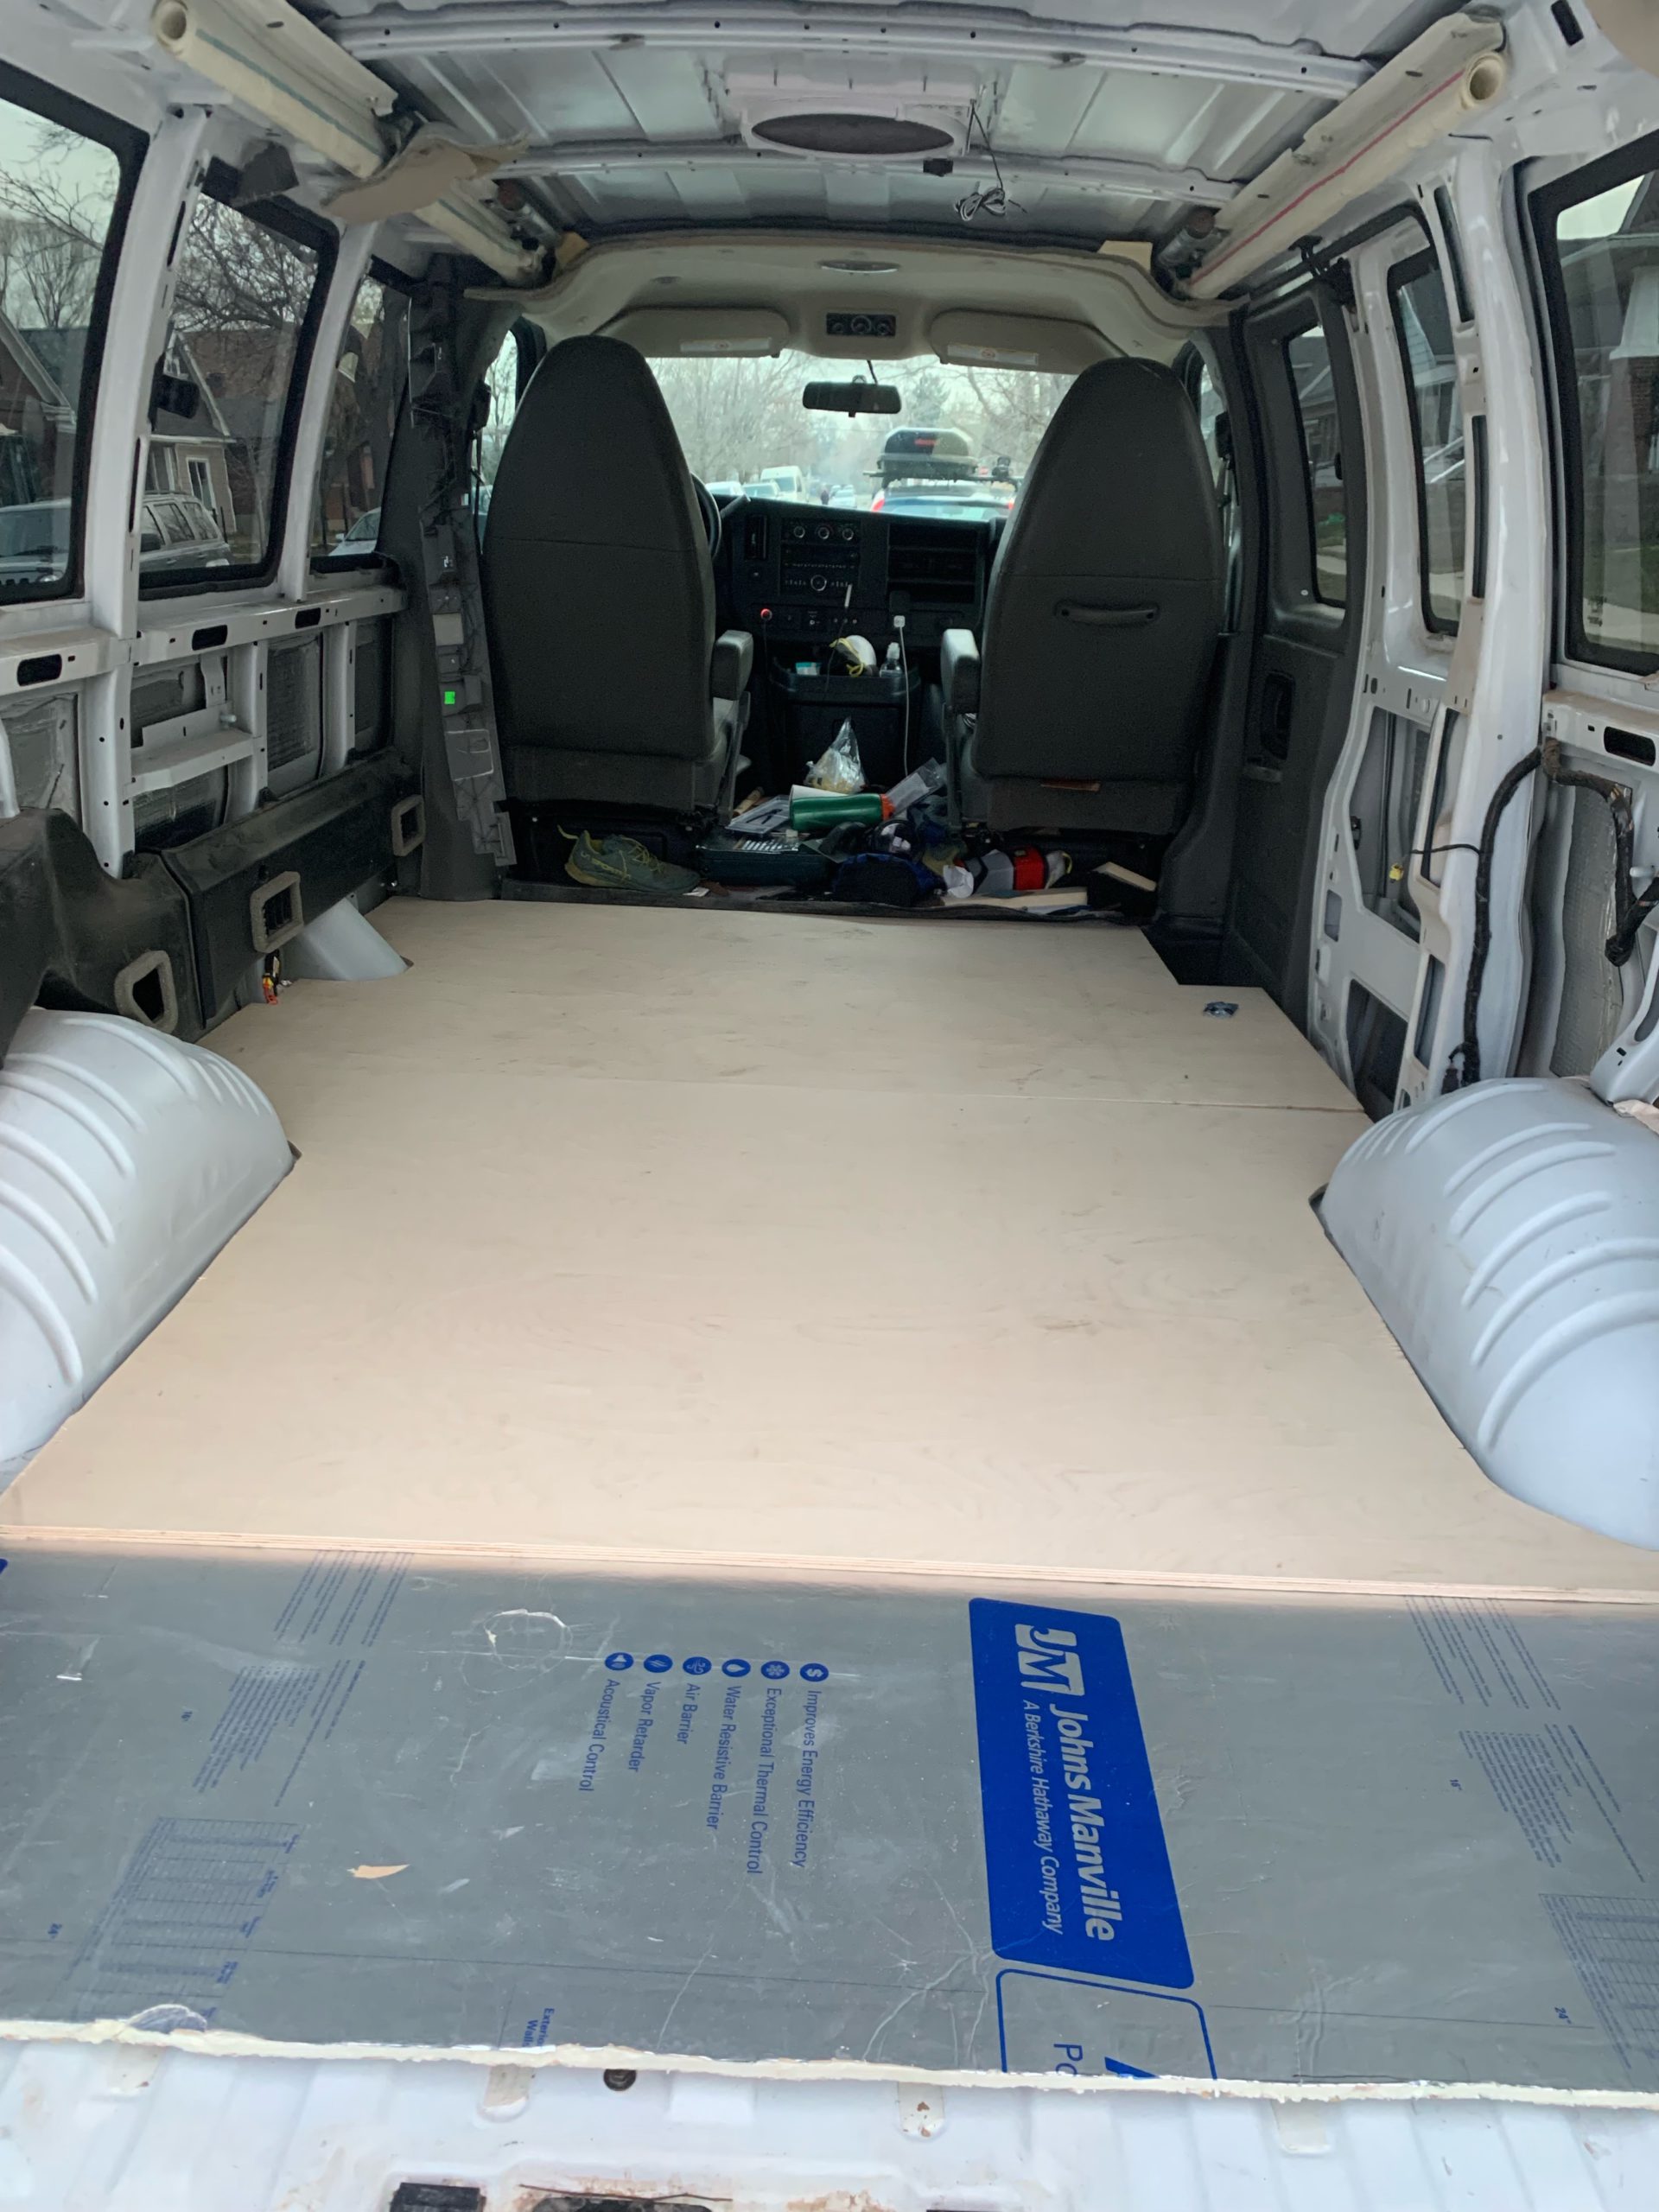
The carpet was just tucked under the plastic siding and came up super easily, exposing the underlying seat mounts. To my surprise, I was greeted by several large steel plates, rather than the rails I had expected to find. I am not sure if this is because my van was set up for a non-standard 8 person configuration or if this is just how they are doing it in newer Chevy Expresses. The plates were held down by large bolts which were screwed through nuts on the underside of the van. Unfortunately these nuts could spin freely which meant removing the bolts required someone to hold the nut in place from below while the bolt was unscrewed from above.
I recruited Taryn’s help and spent a grim Saturday sliding along the muddy and snowy ground looking for spinning bolts as she worked them loose from above. As luck would have it, all nuts ended up being reachable from below, although some with great difficulty. All-in-all it probably took us around 6 hours to get all of the bolts out. With the steel plates removed I was left with a nice, not-so-clean canvas.
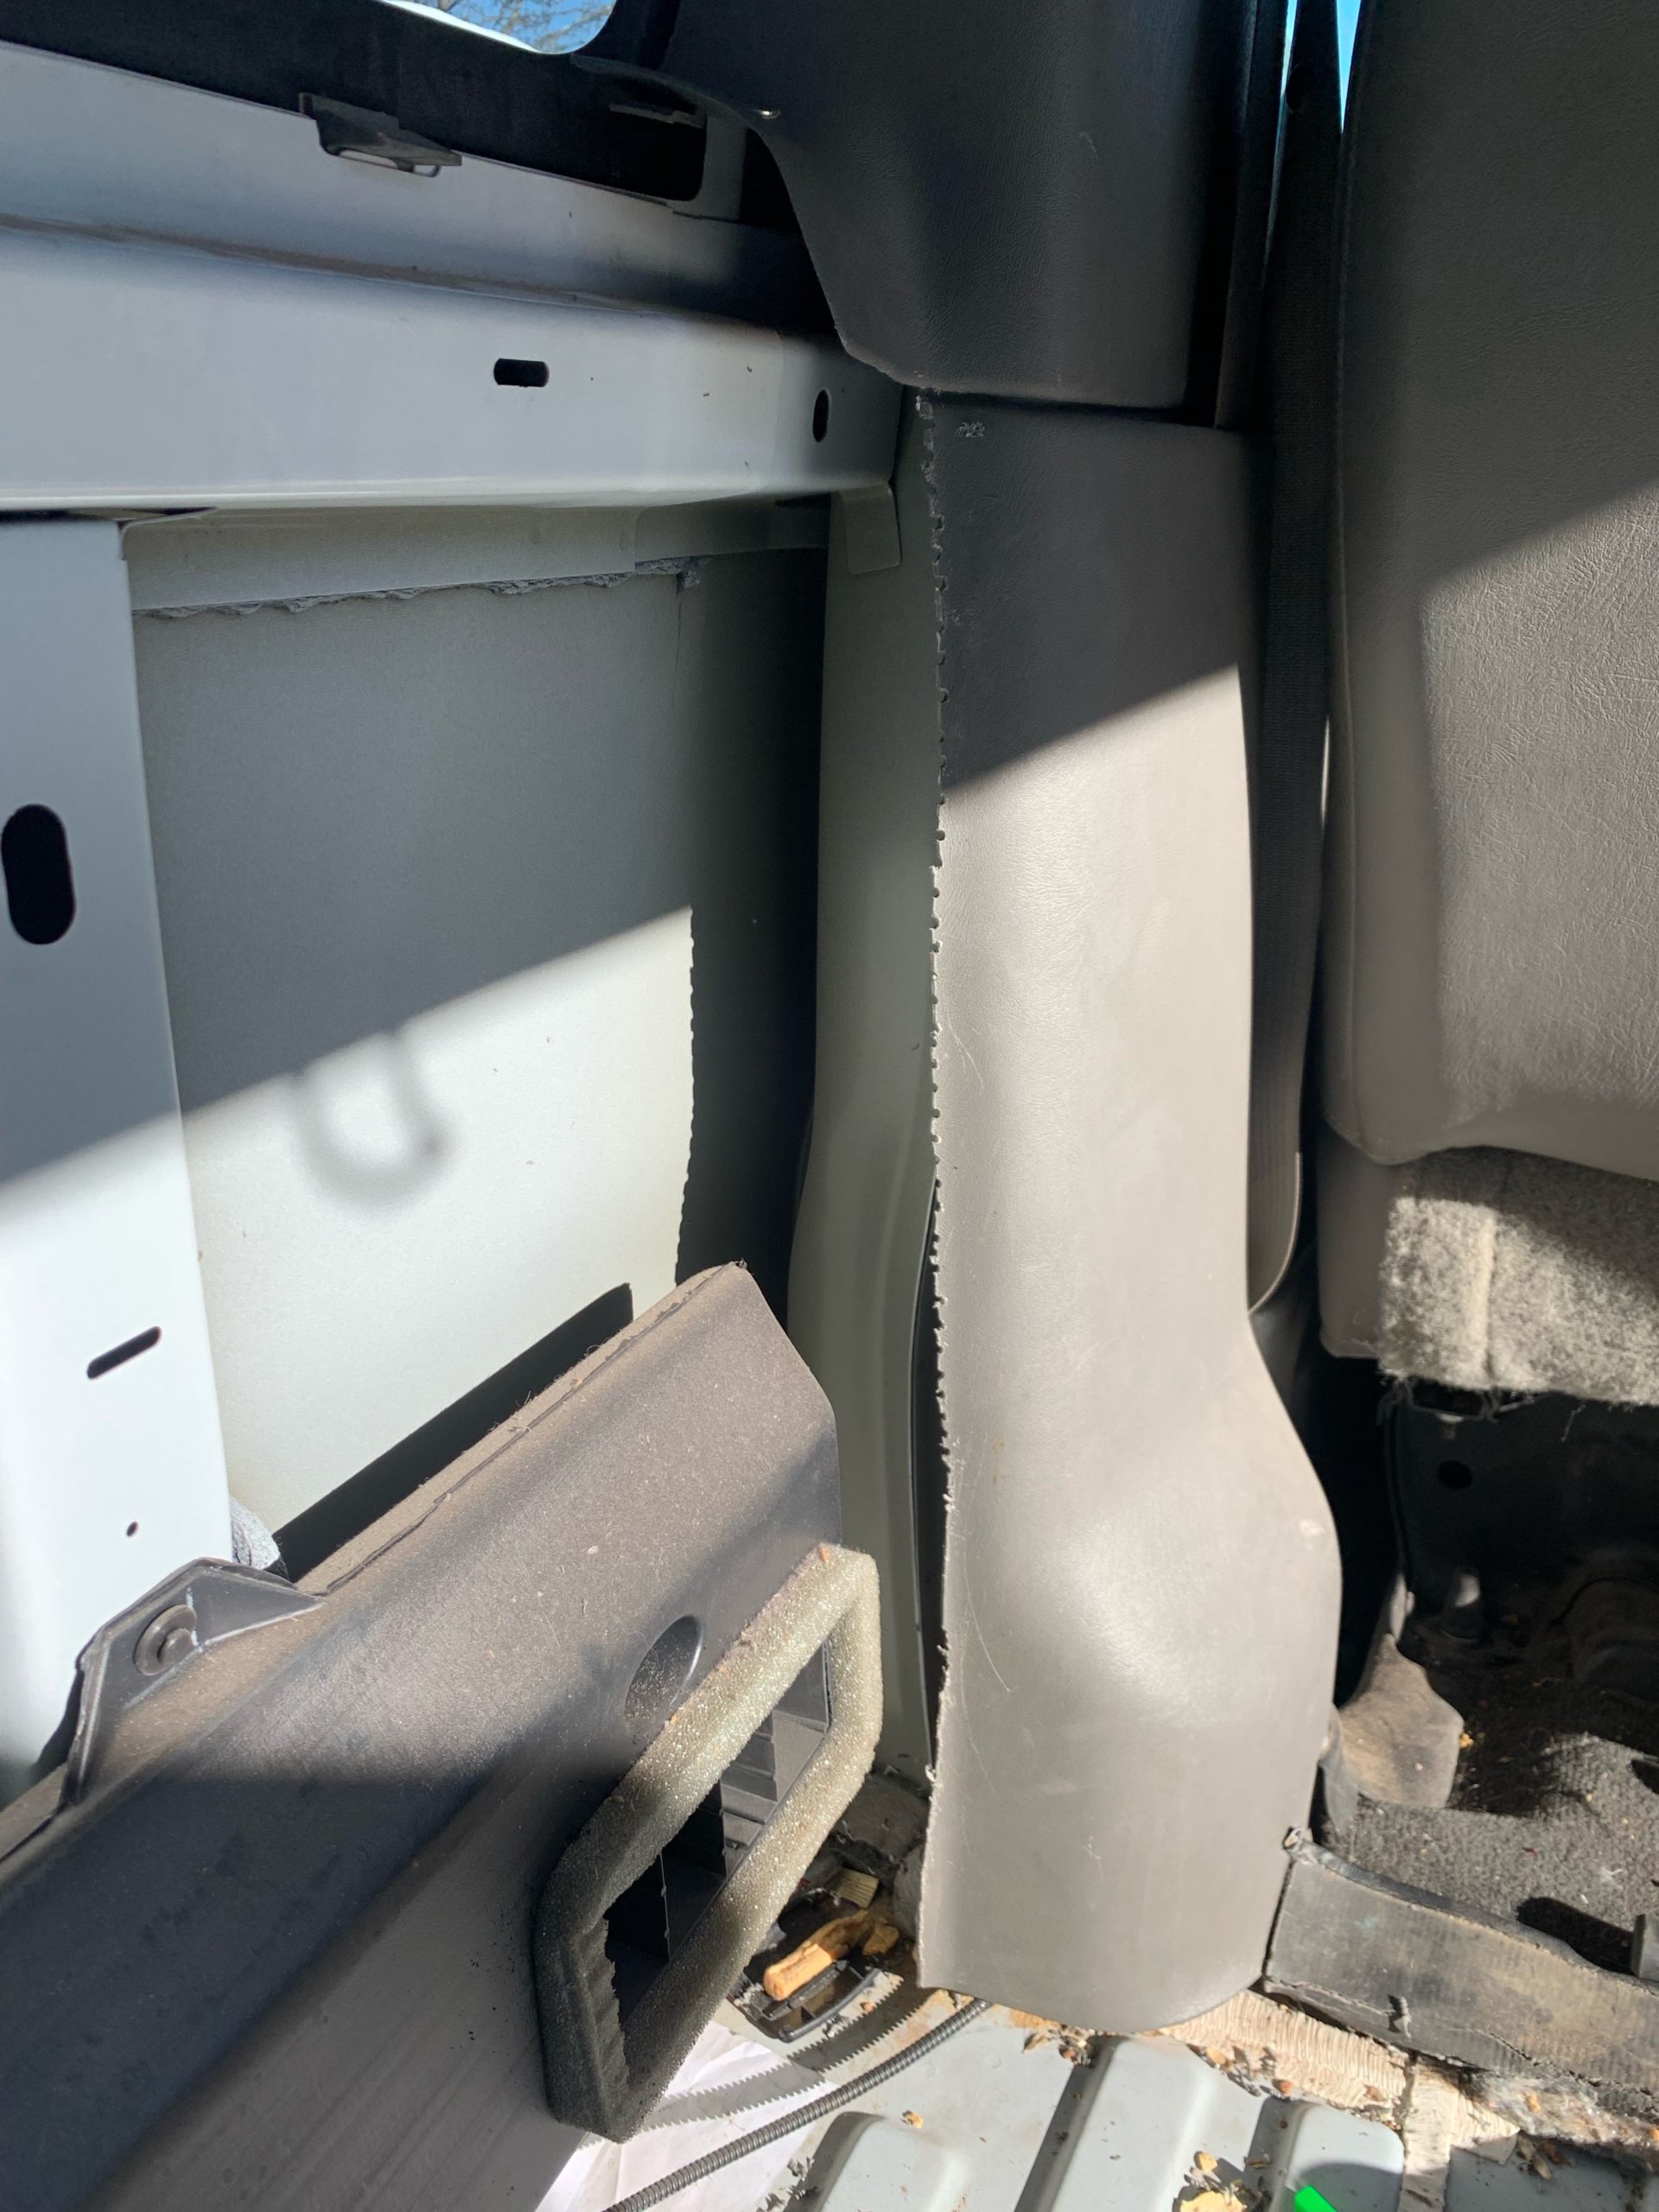
With the flooring out, I worked on removing the remaining plastic siding so I could get an accurate stencil of the floor. This was generally trivial except for on the driver side where the section of plastic continues up to the driver-side door. The plastic was surprisingly hard to cut, but I got through it with a drill and a burly pair of garden shears.
The next step was figuring out what to do about all the holes in the floor where the bolts had been. People online described using fiberglass patches but that seemed like overkill. I ended up just covering the holes with some duct tape and covering that tape with a dollop of Loctite Marine Sealant.
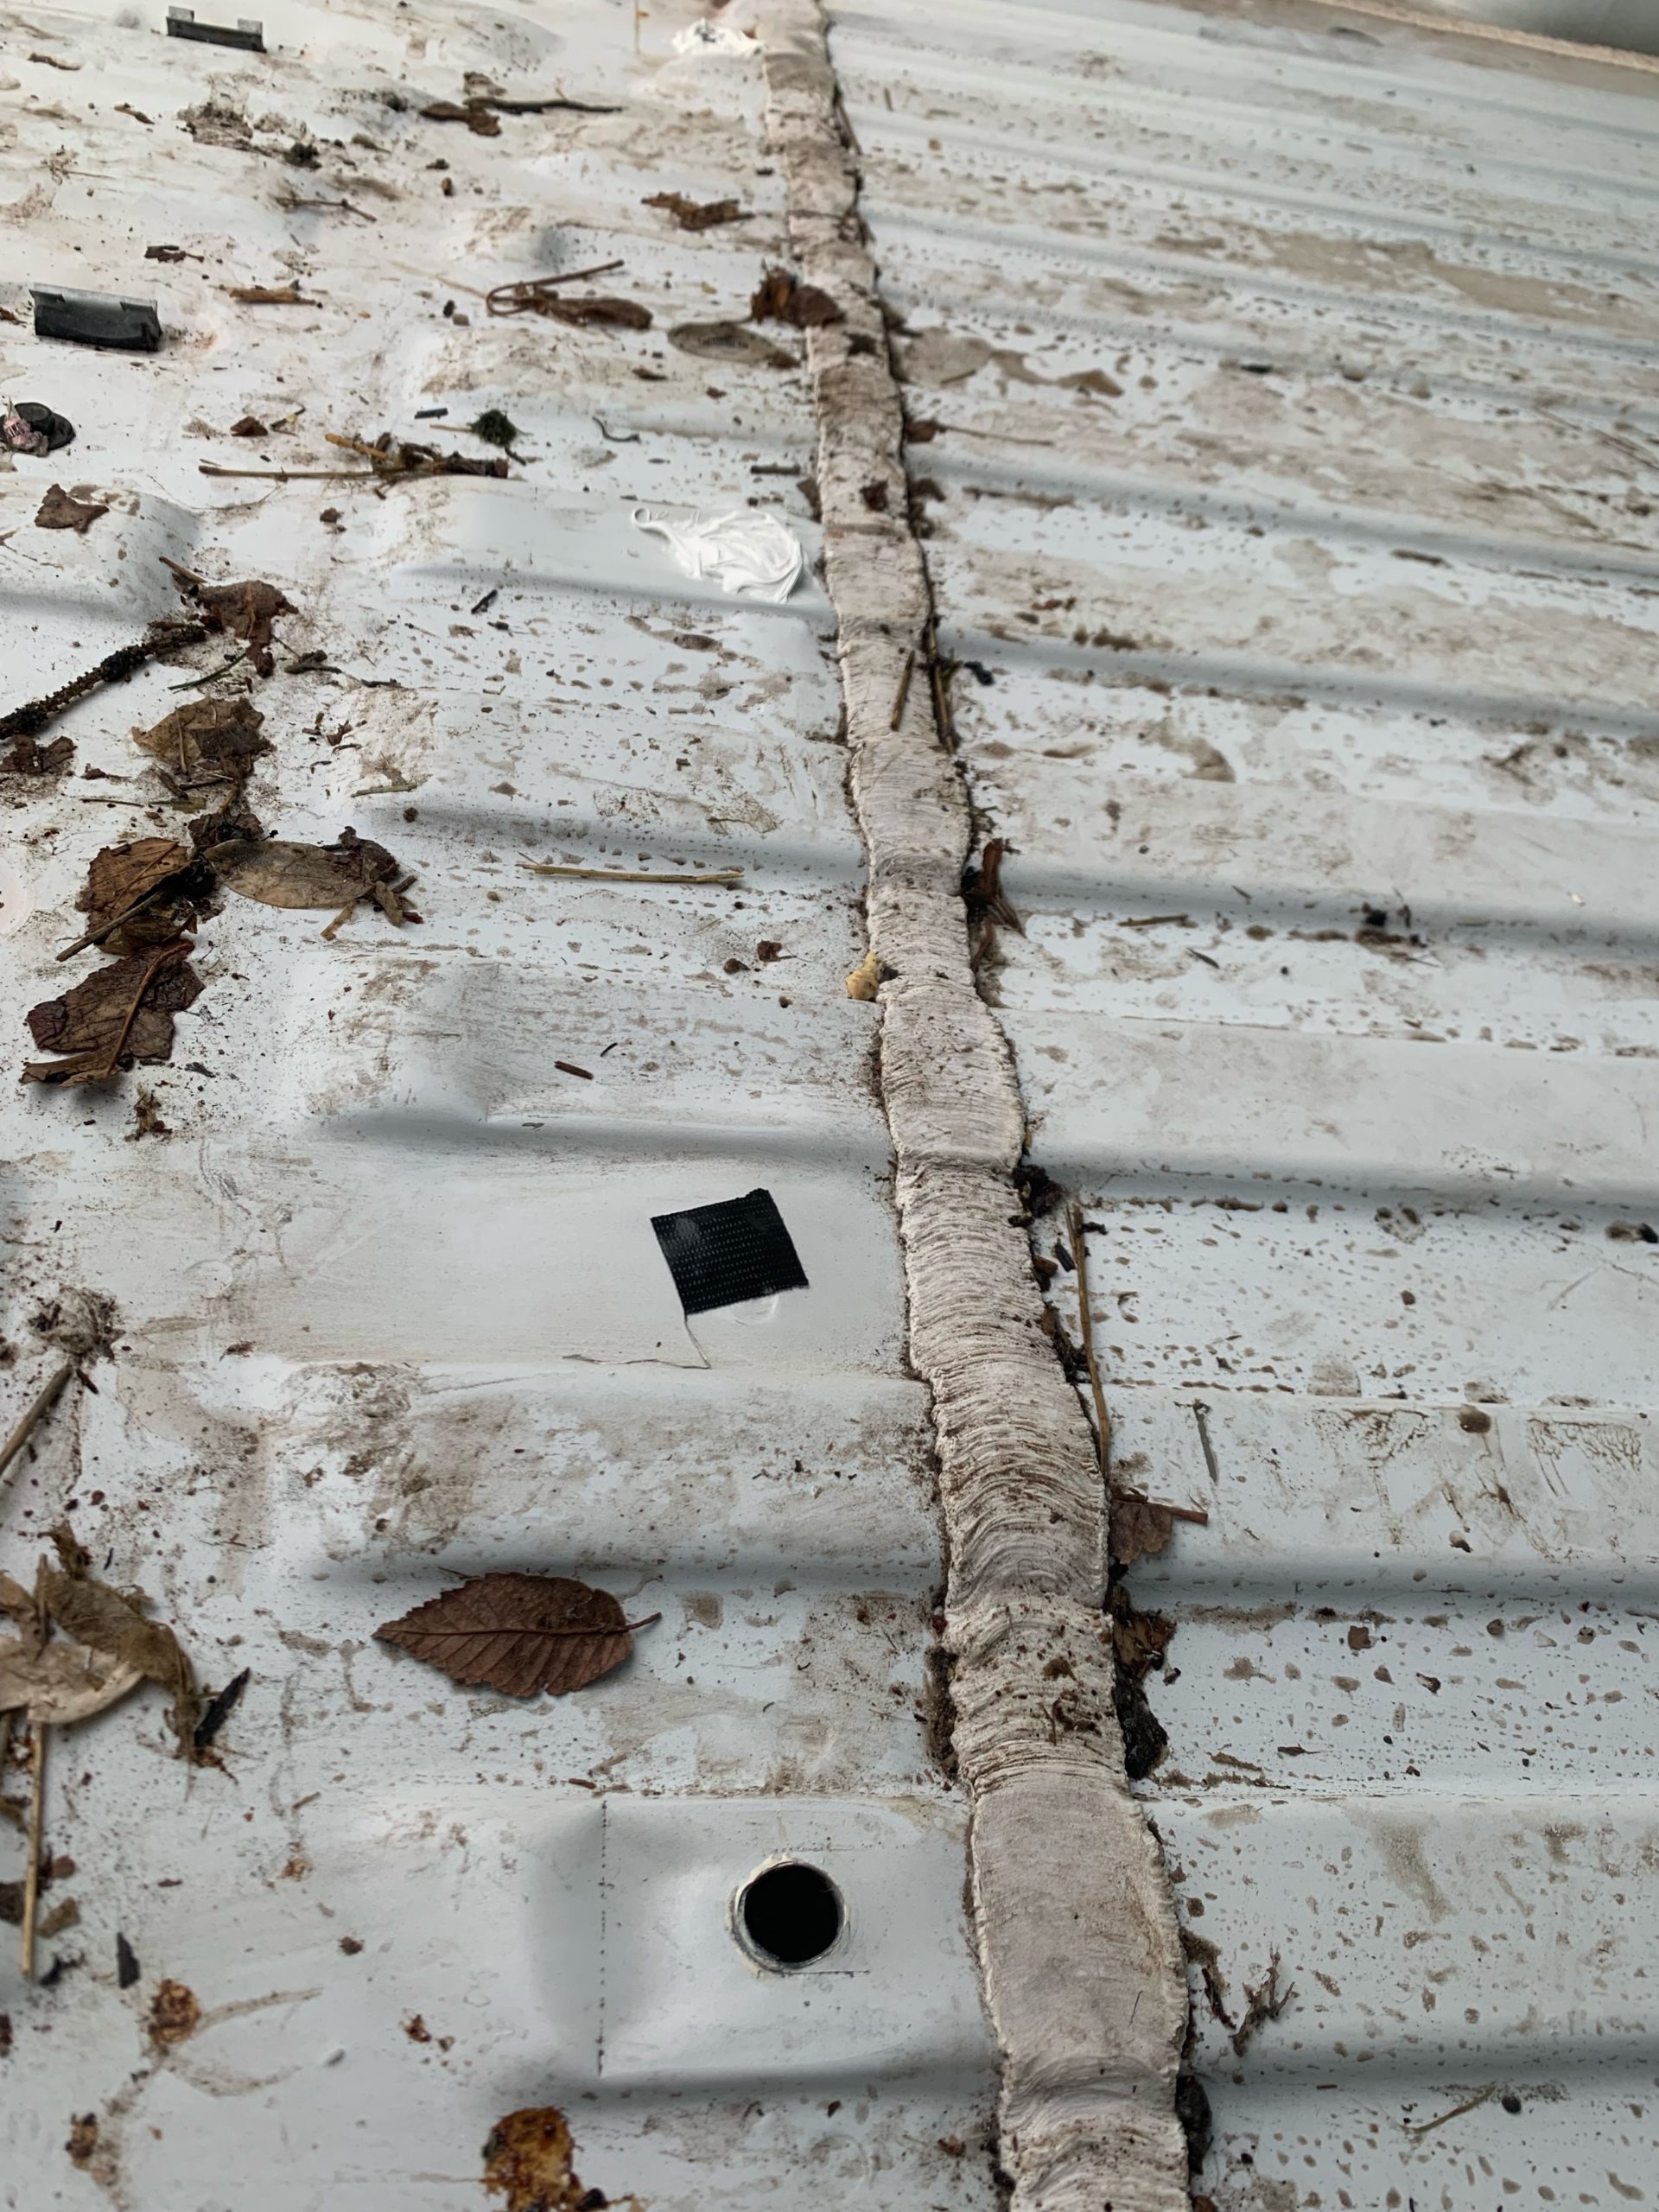
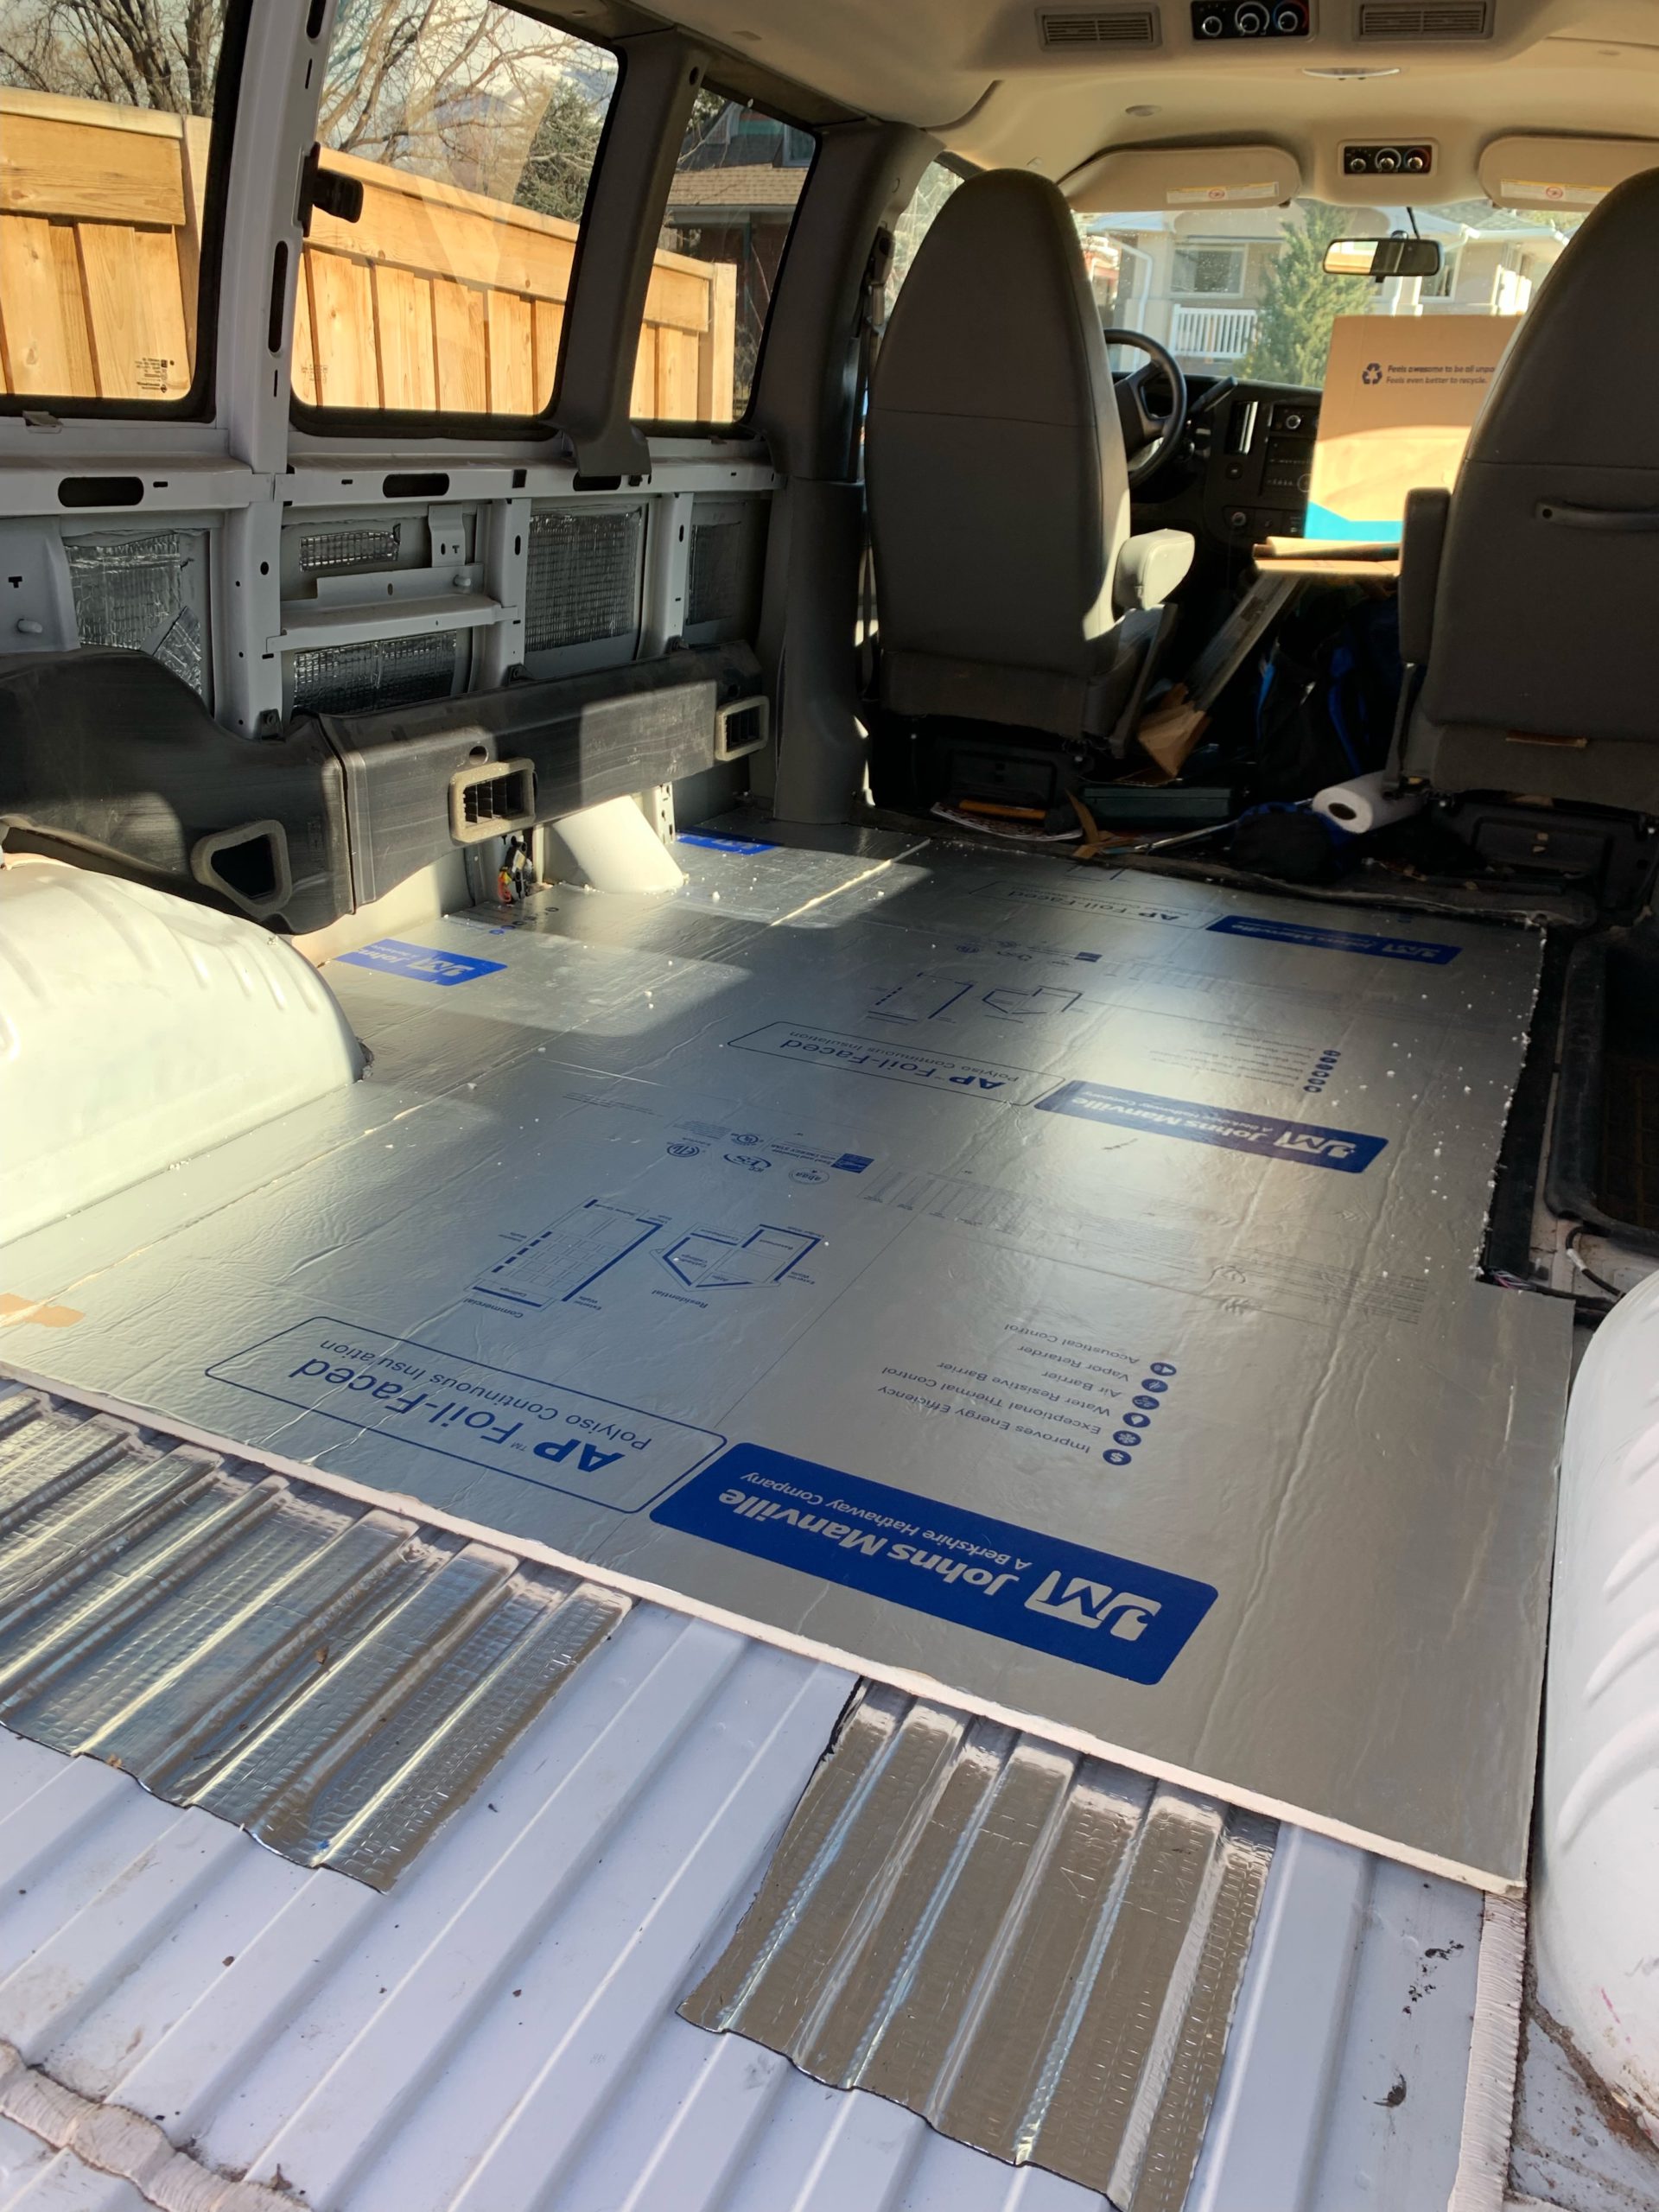
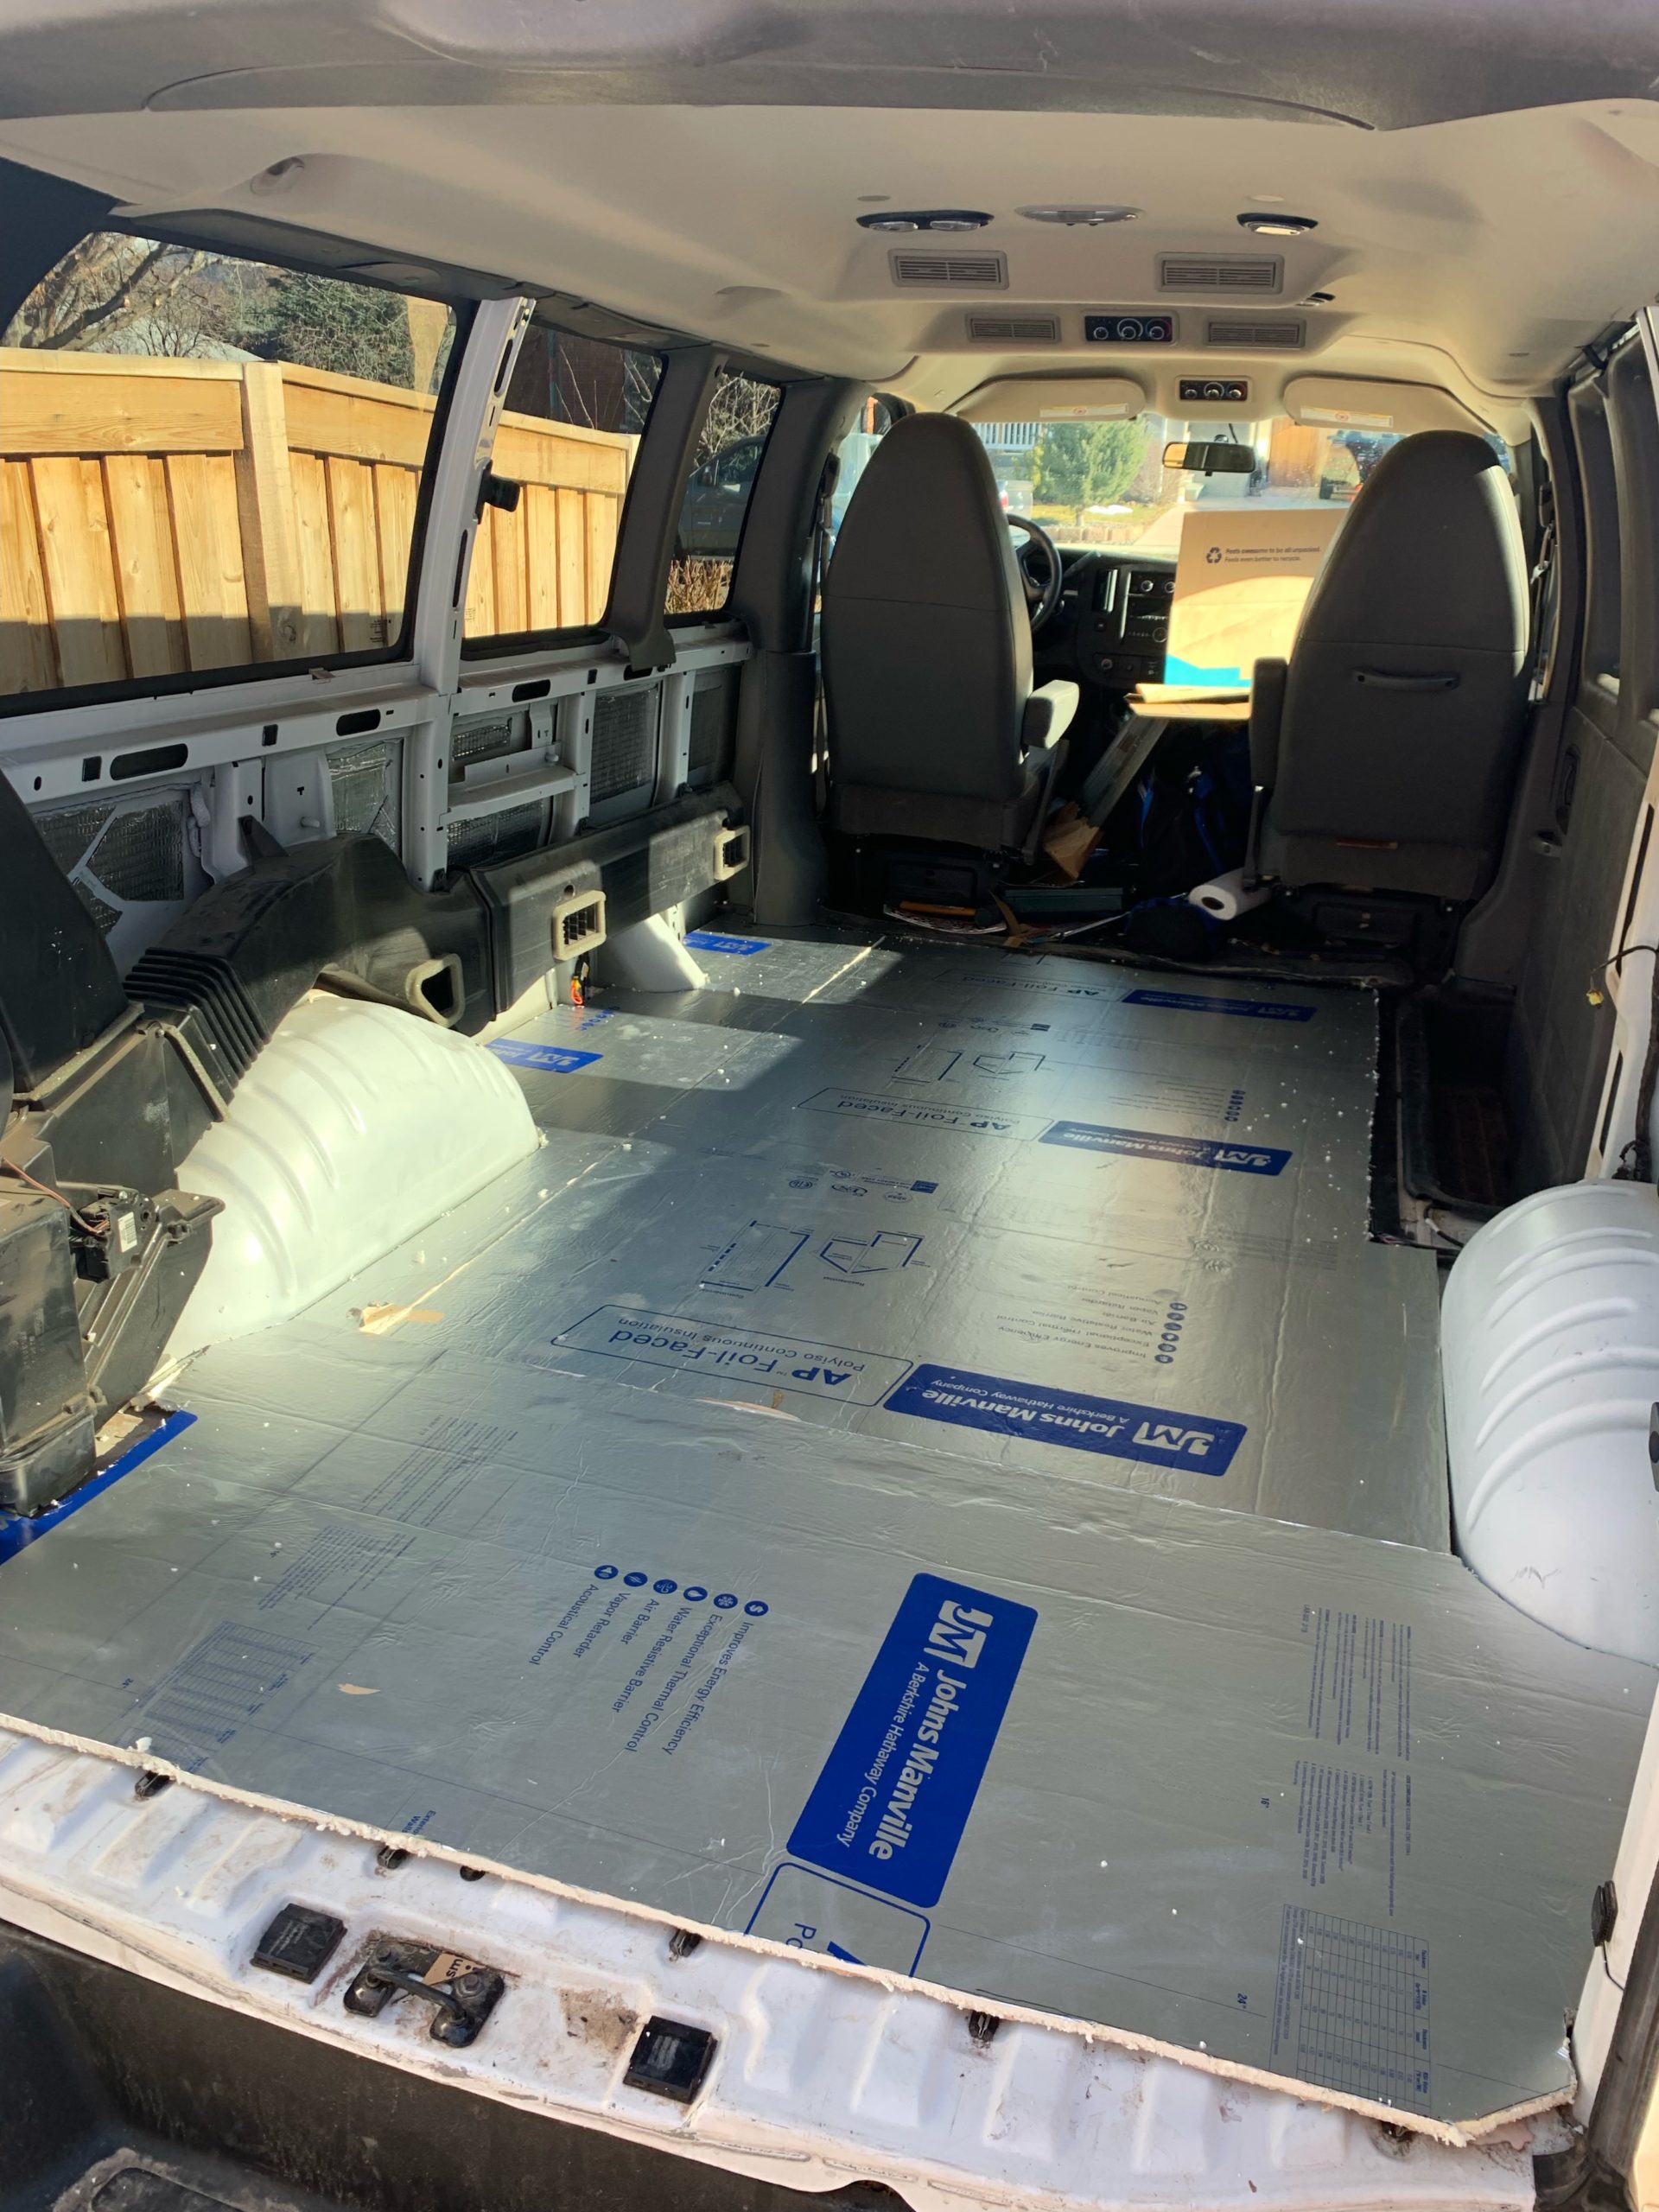
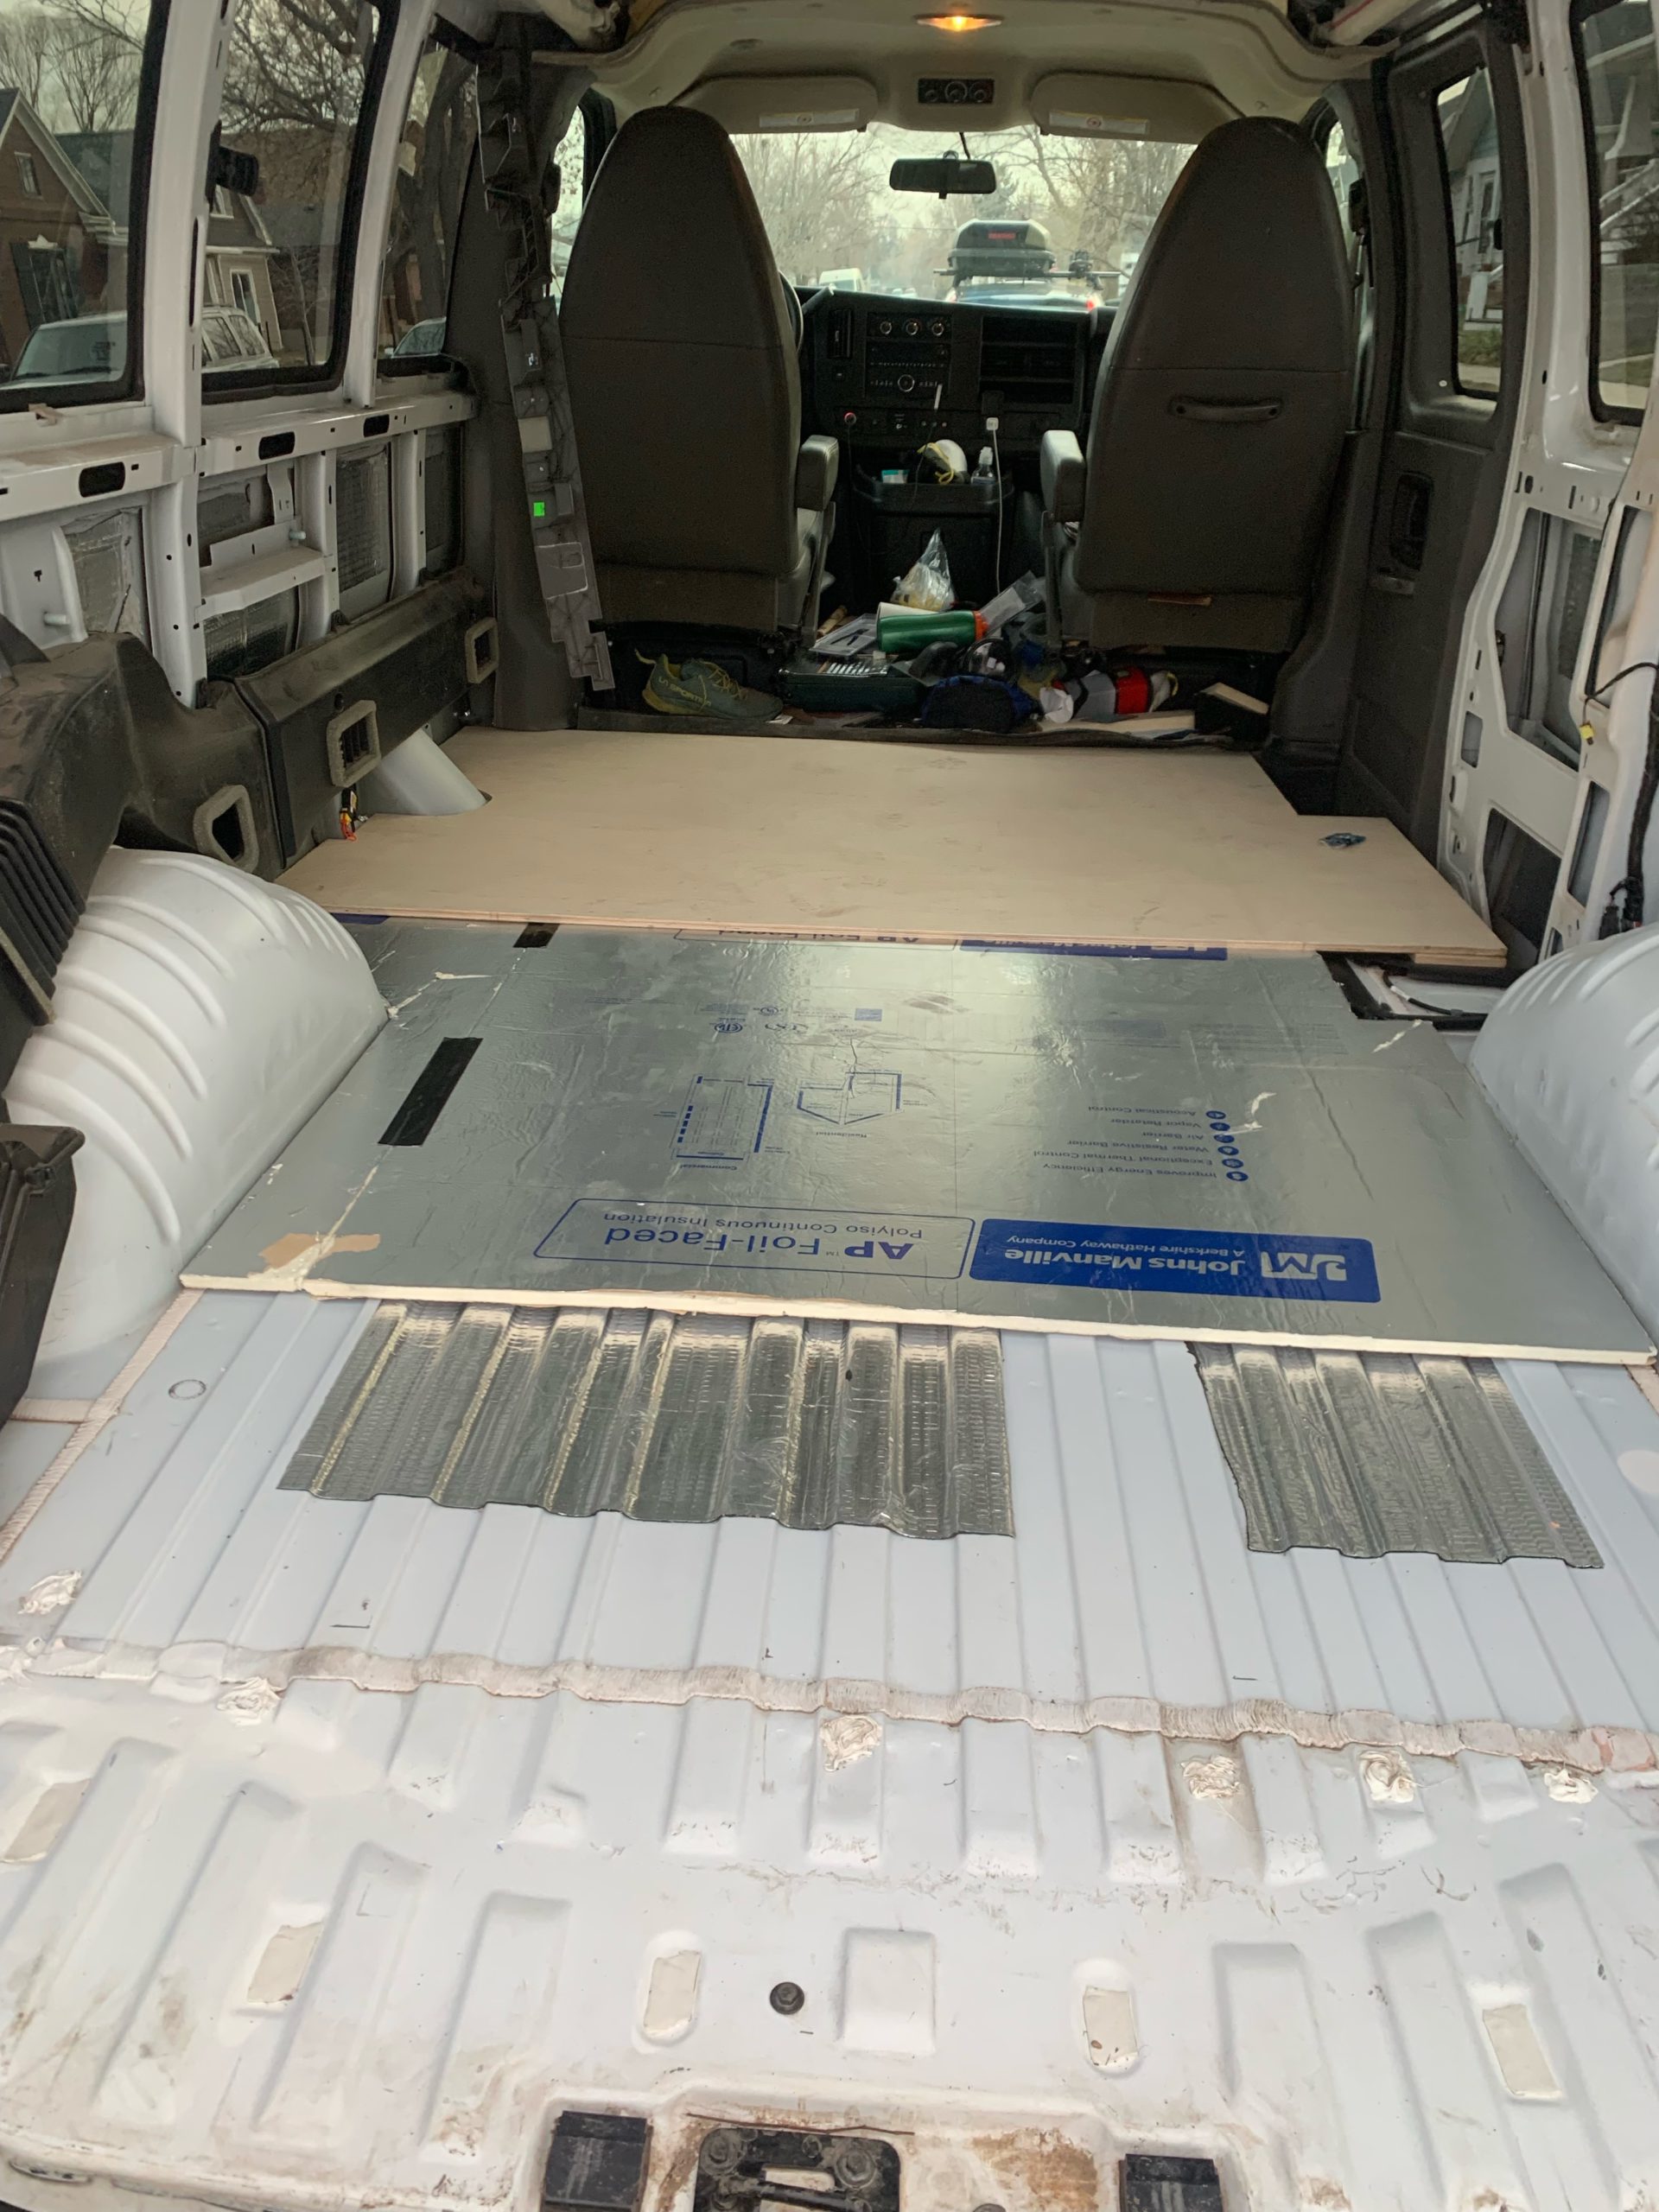
I also took the time to put down some sound deadening mats. These only need to cover about 30% of the floor to be effective and I could definitely hear the difference when I tapped on the floor after putting them down. I’m would suspect their impact on overall road noise is fairly small, but given how inaccessible the floor sheet metal will become, I decided to err on the side of doing it to avoid future regrets.
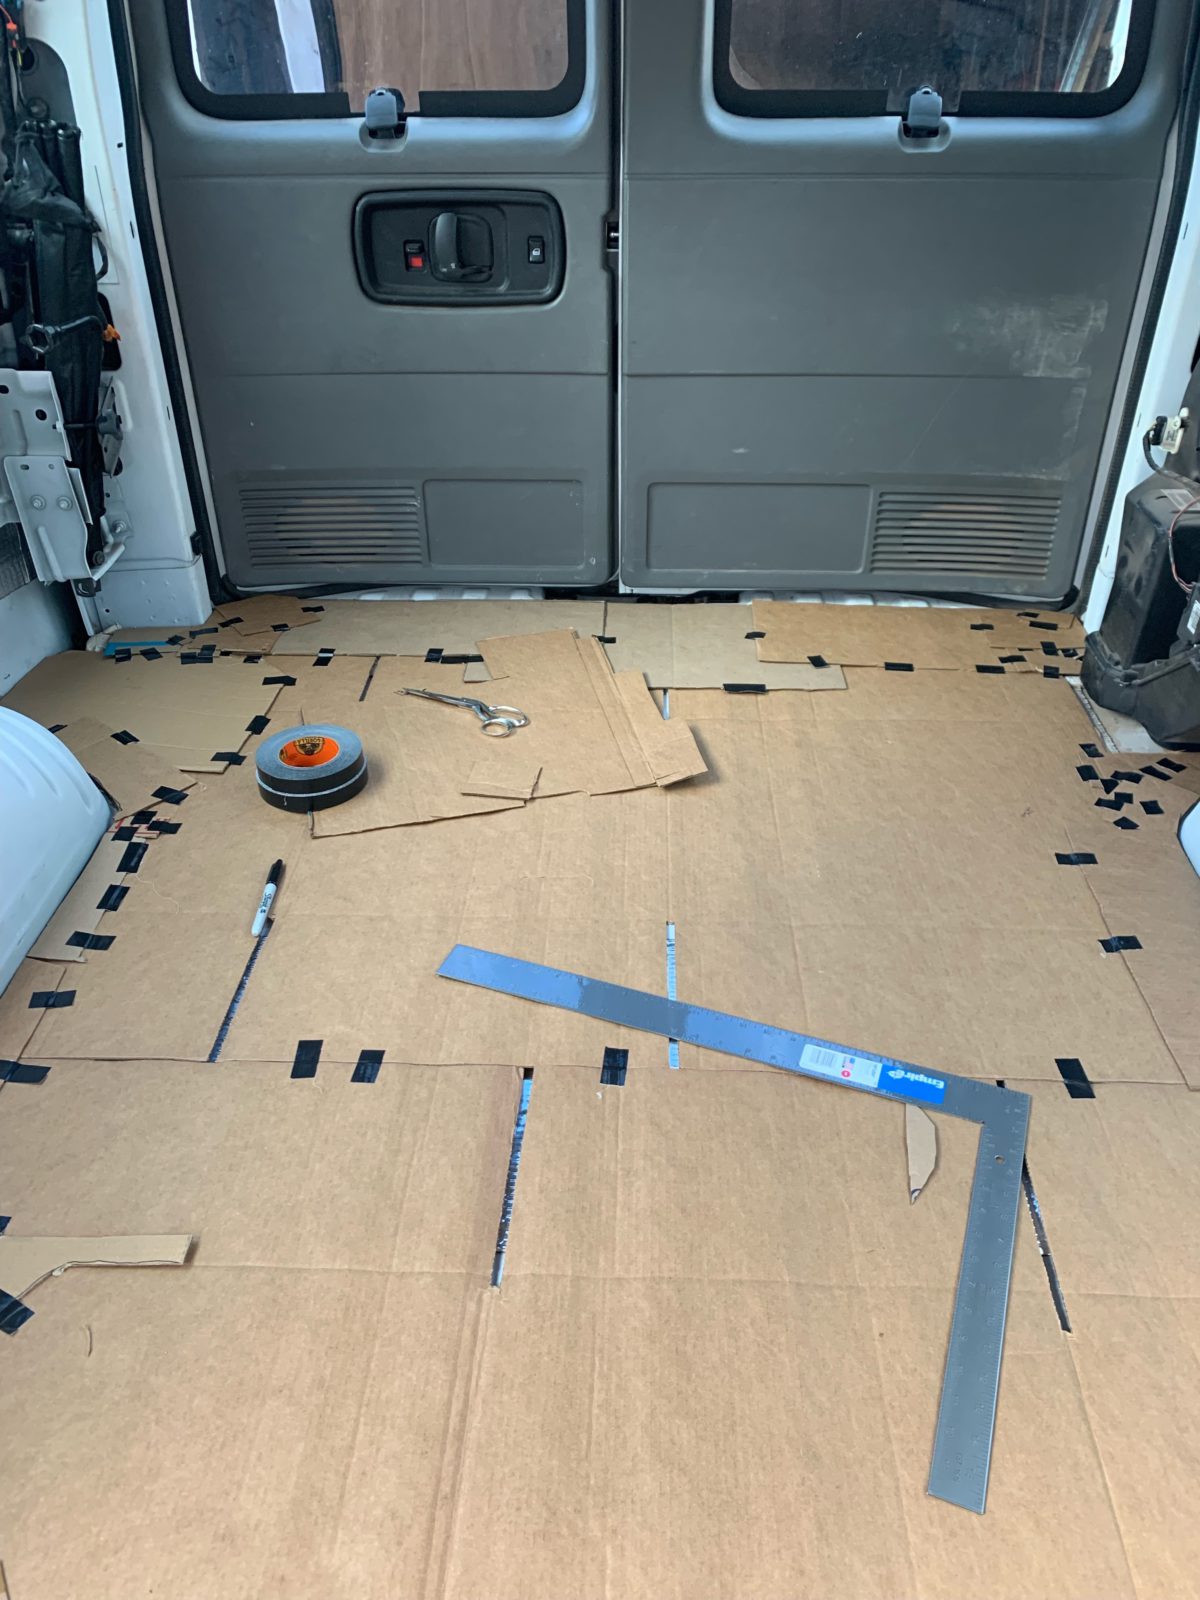
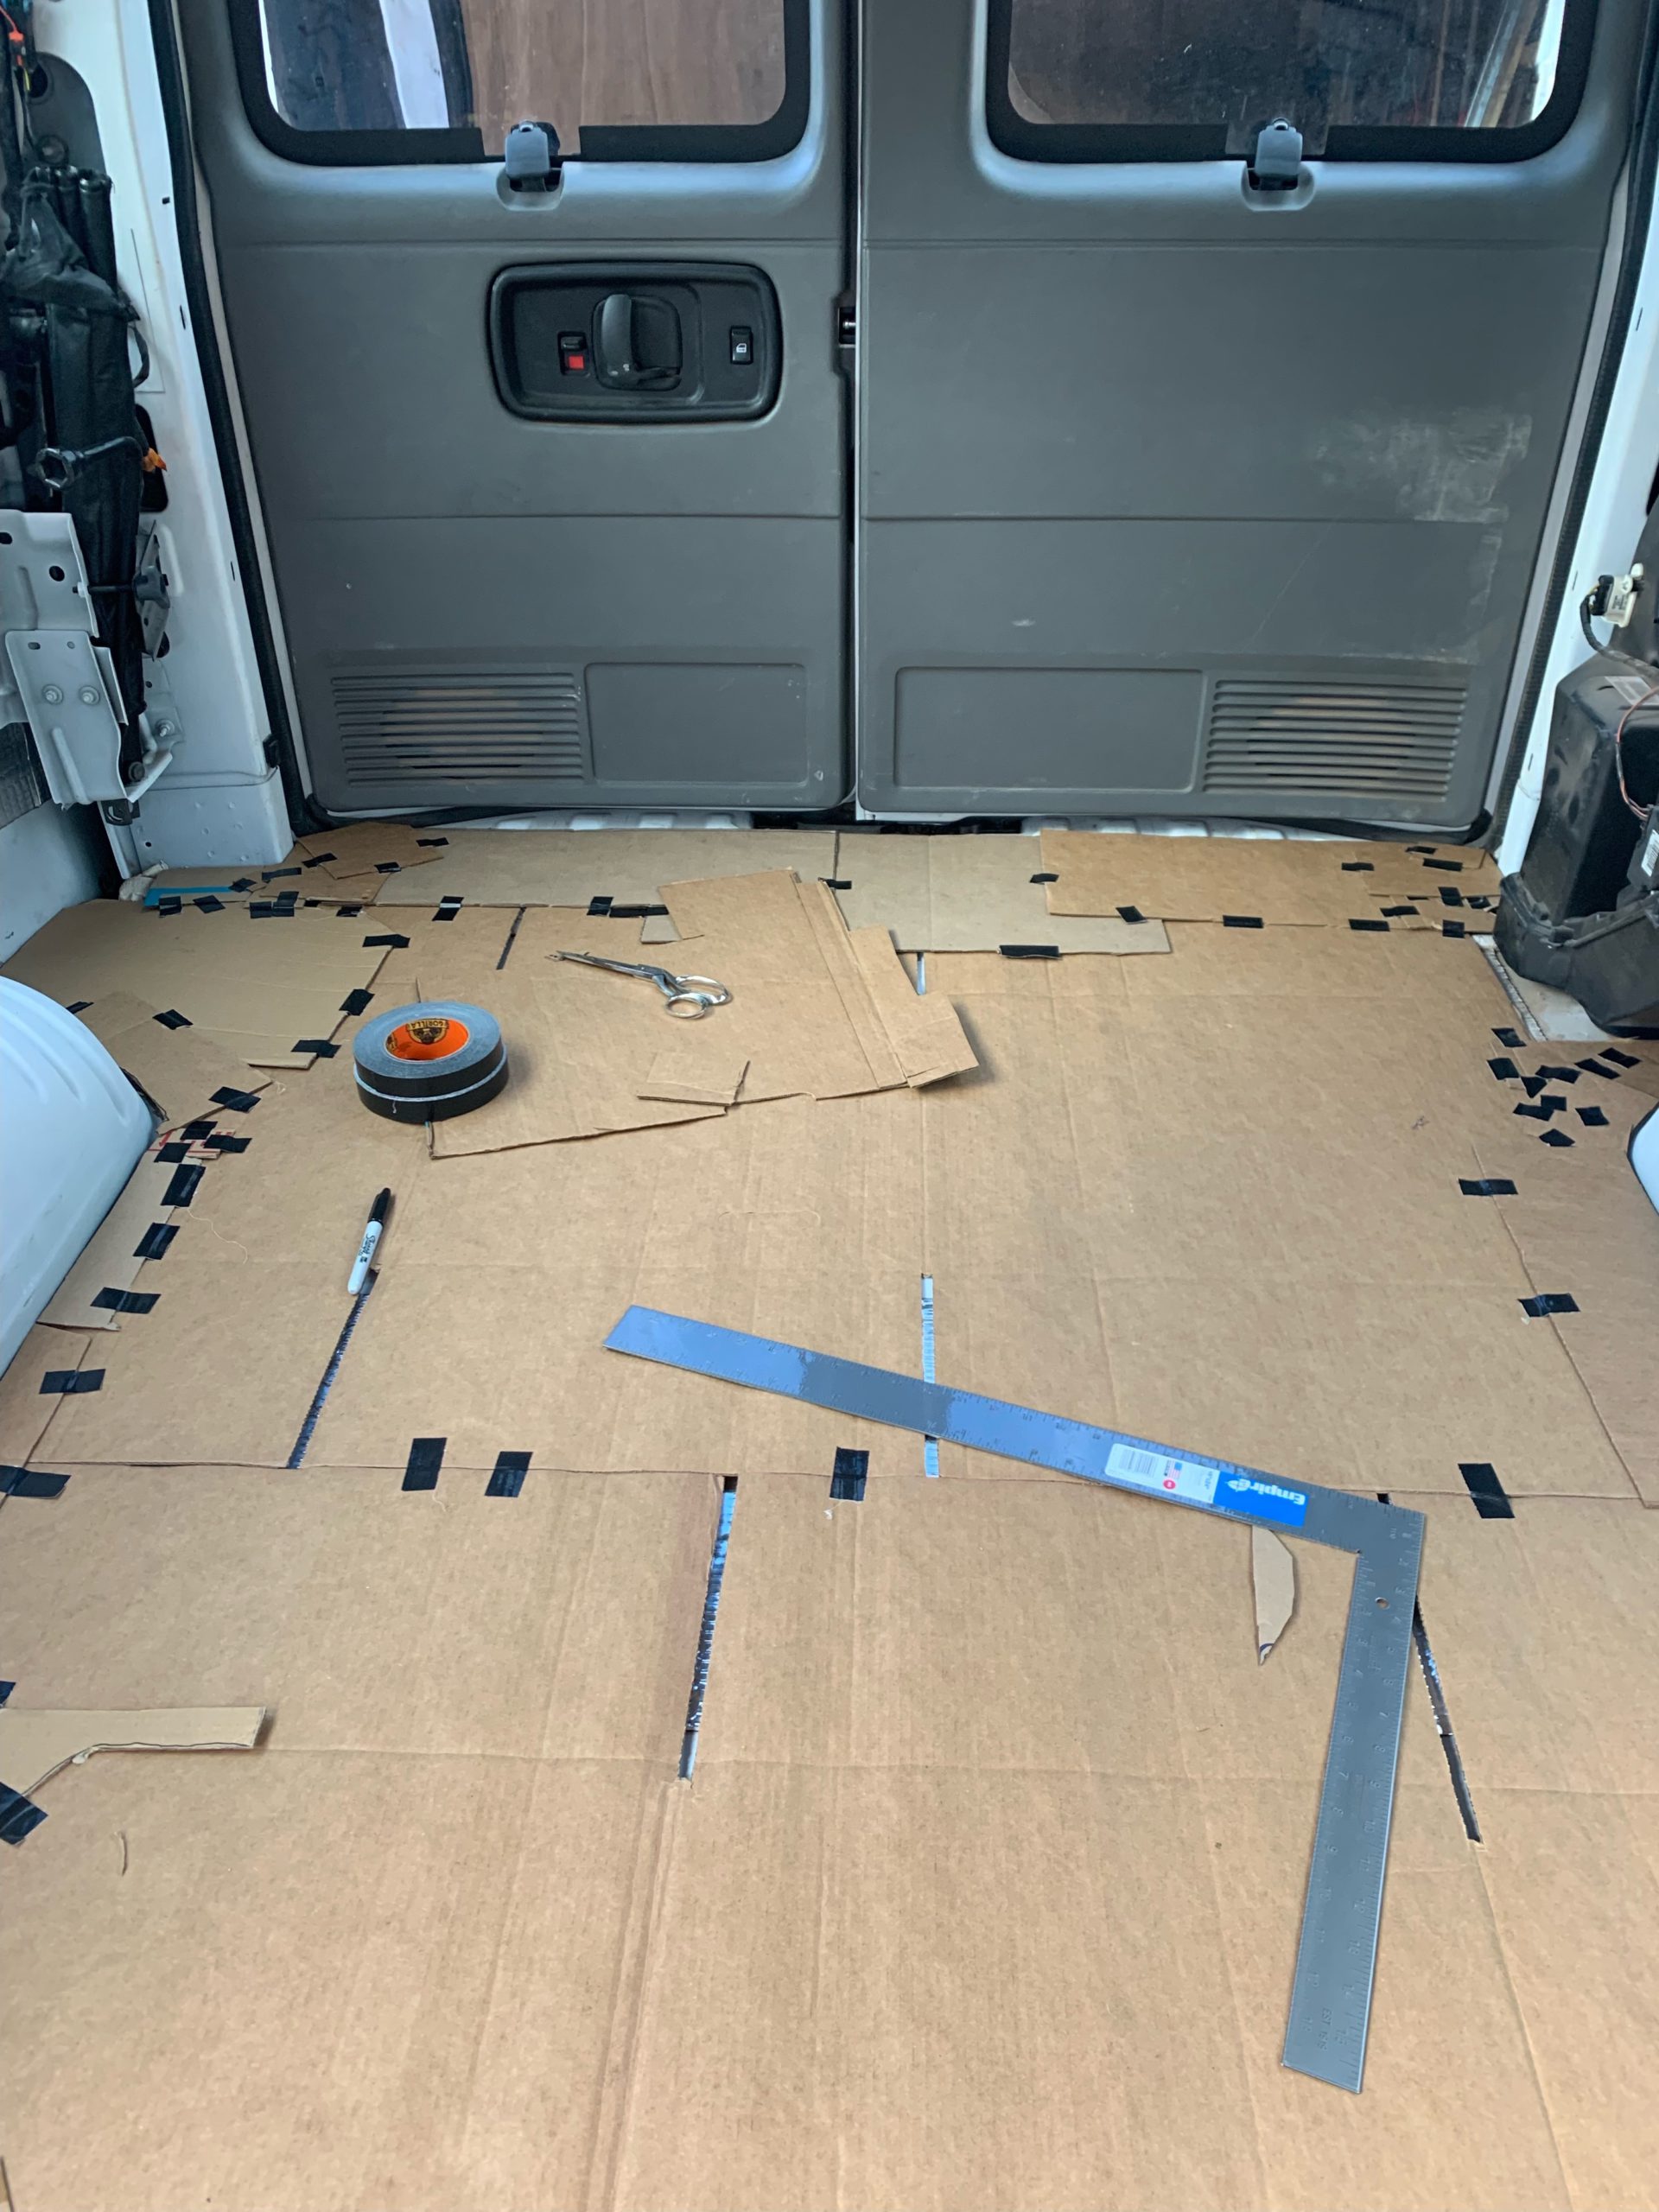
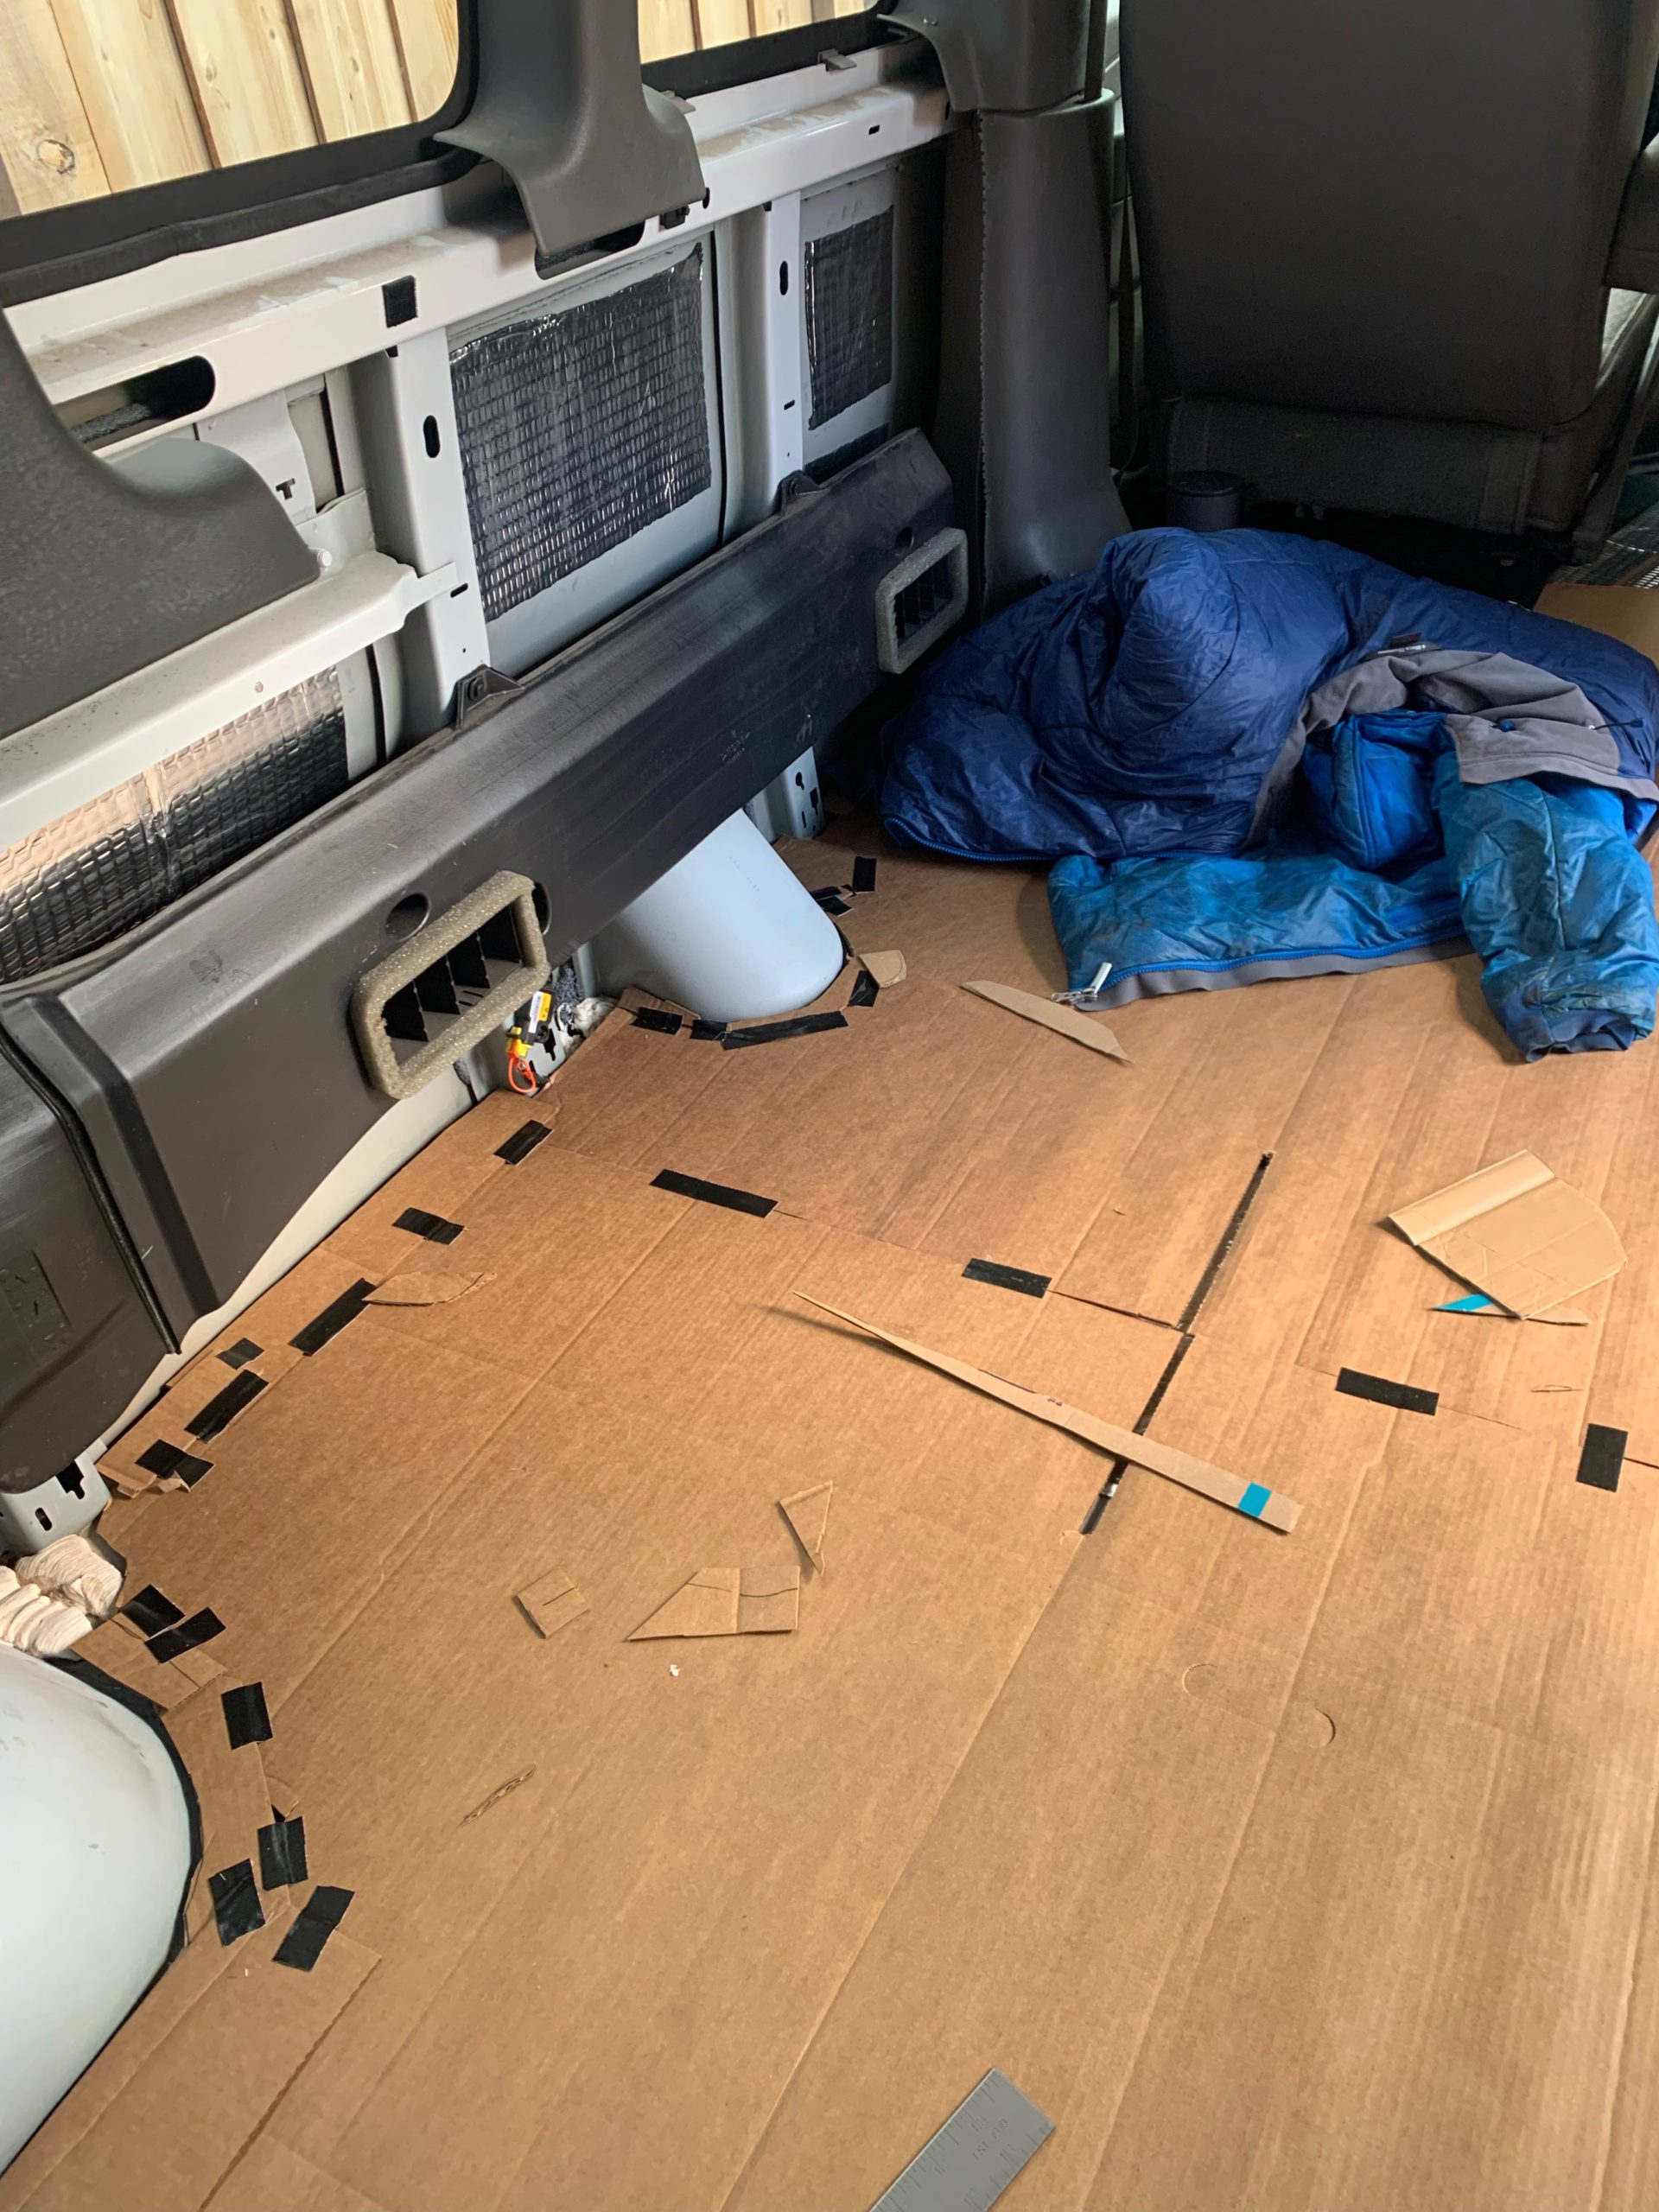
With the floor prepped, I set about creating a template of the floor out of cardboard. From videos I watched, it seems like some people just create templates for individual sections of the sides. I’m glad I created a template of the entire floor. I had to remove it from the van in sections, but having the complete shape of the floor made it much simpler to transcribe the template onto the insulation and plywood.
Speaking of insulation, I went back and forth on whether or not to use floor insulation. On one hand, since heat rises, the floor is the least important face to insulate and insulation uses up valuable van height. On the other hand, neither sheet-metal nor plywood is an exceptionally good insulator and a cold floor is no fun. The ceilings of my Chevy Express Van are also far to low to stand-up in, making the loss of a little height less noticeable. In the end I decided to go with a 1/2 inch of insulation which seemed like a good thickness to balance insulation vs height-lost. I also suspect some insulation will lead to reduced road noise although I didn’t do a side-by-side comparison.
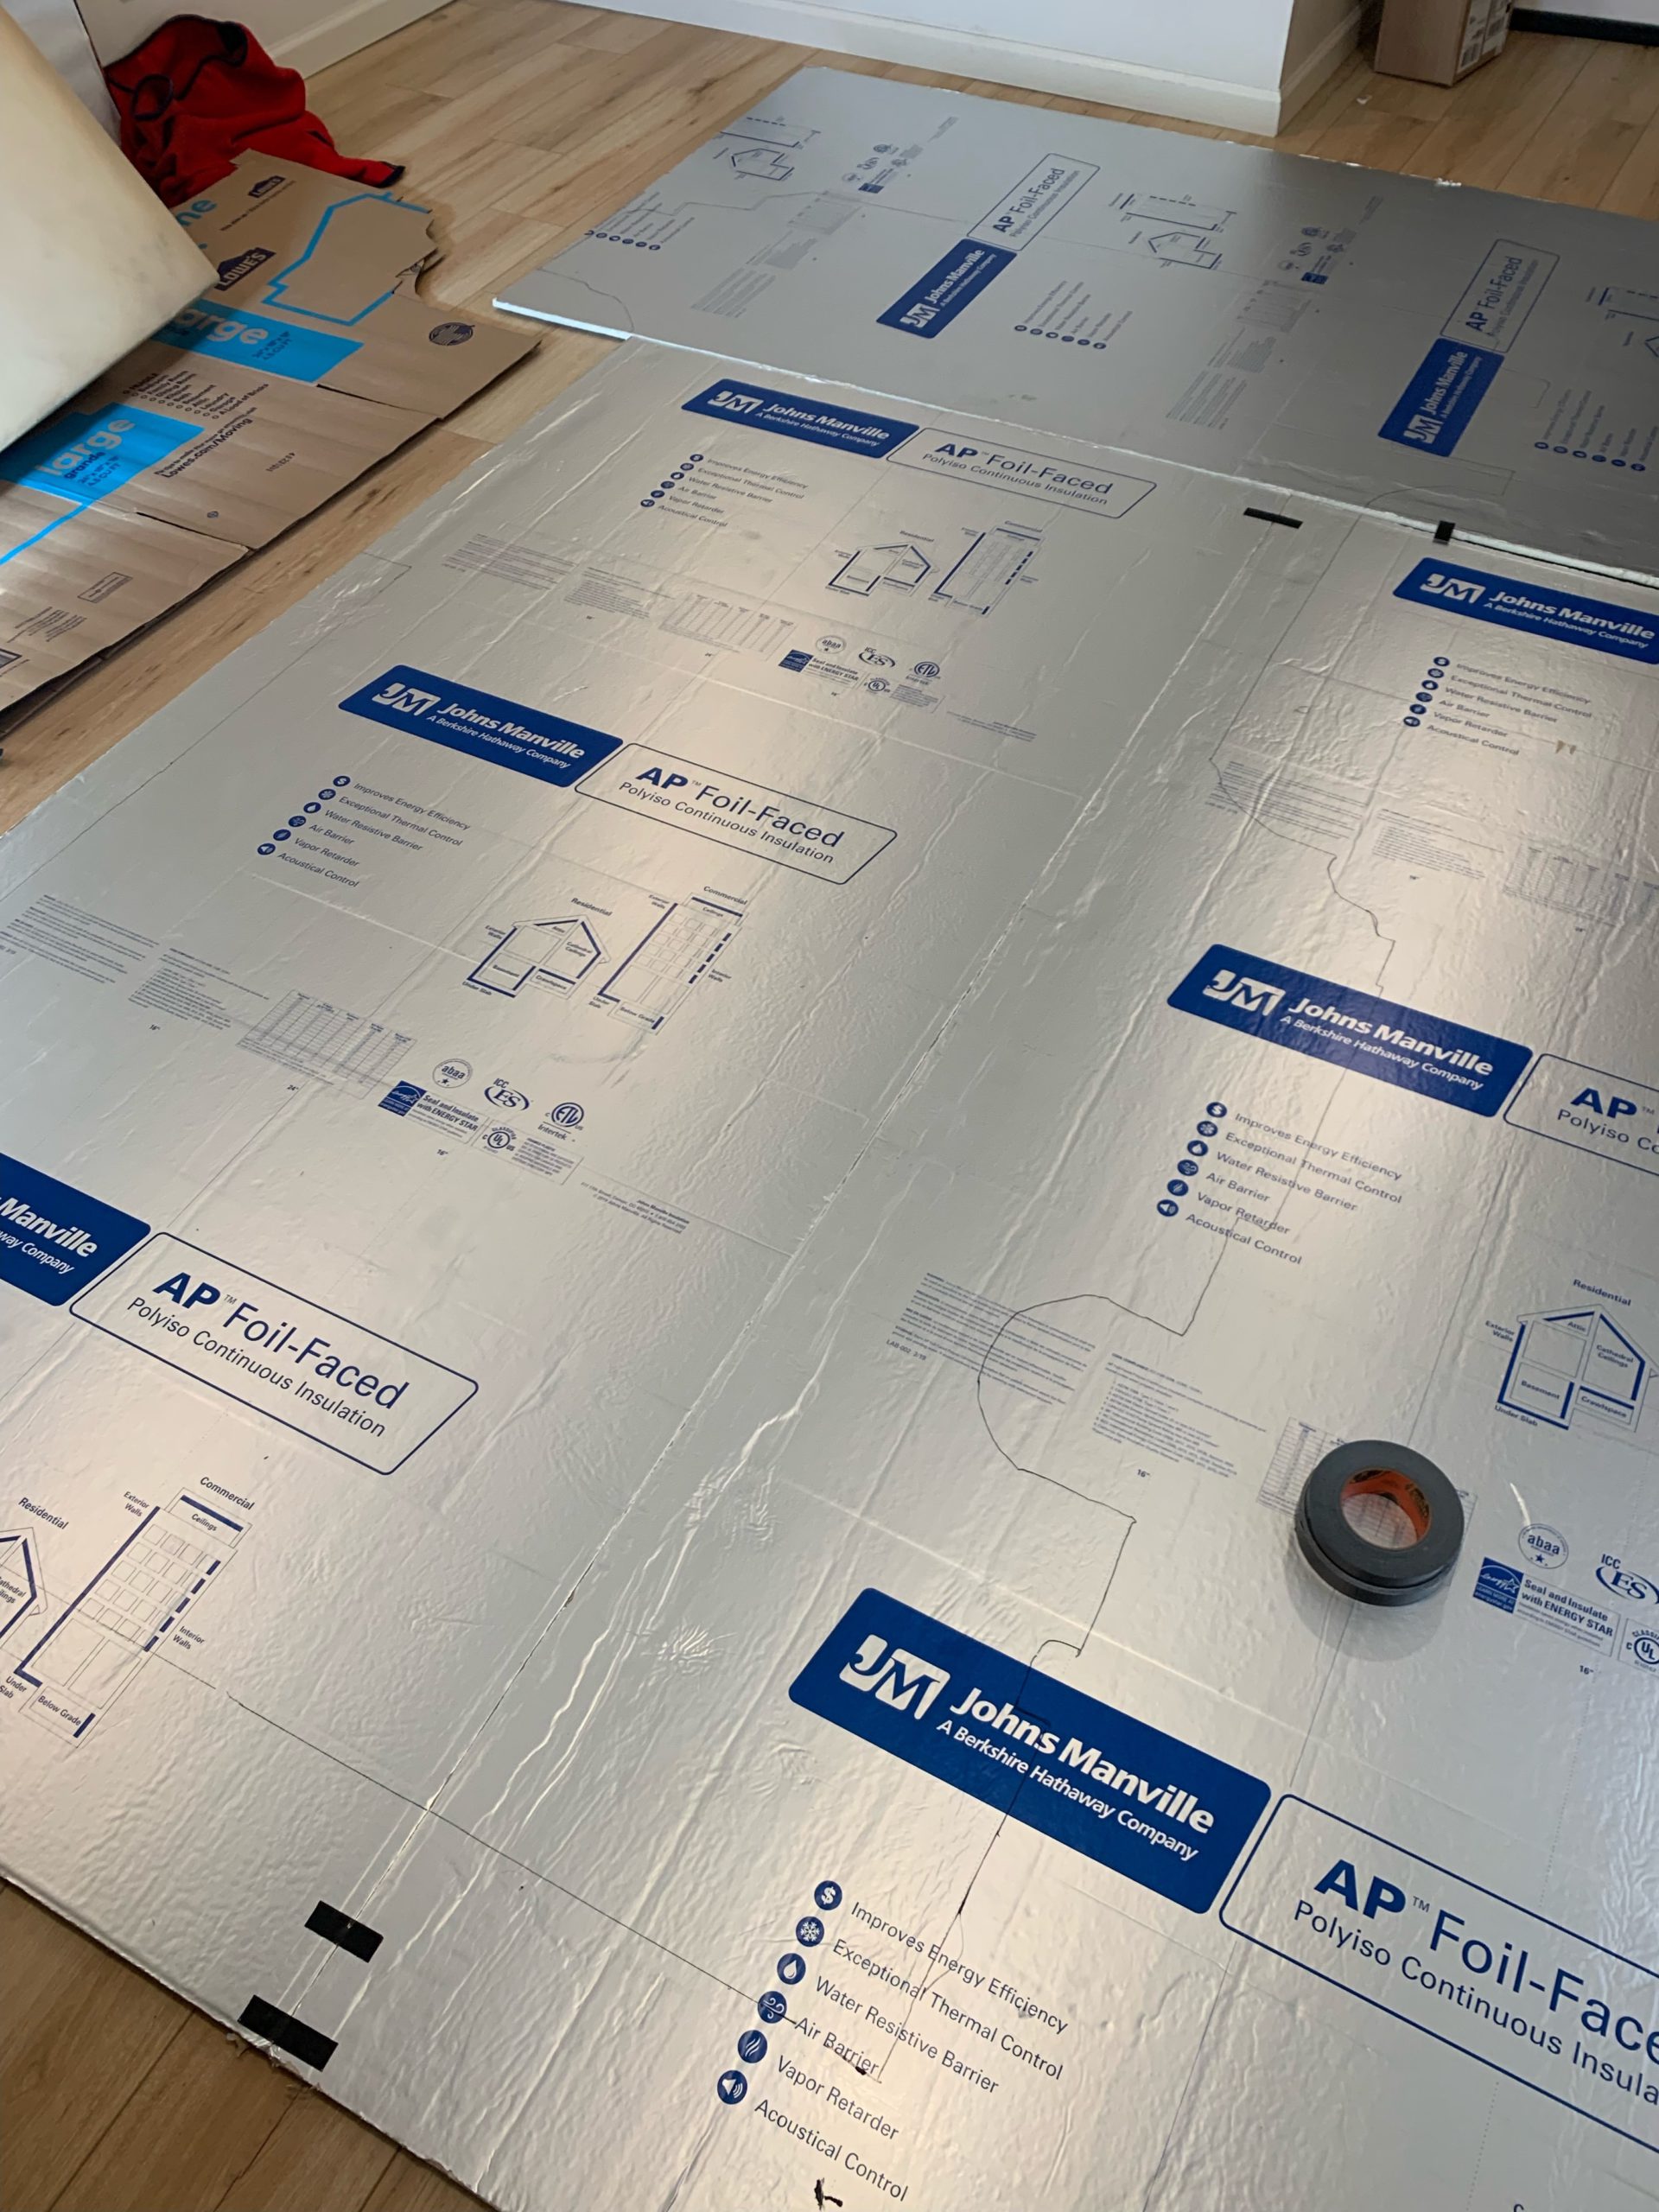
I decided to go with either XPS or polyiso insulation. XPS has the advantage of being a bit stiffer and more durable as well as cheaper while polyiso has the advantage of being a bit more performant and better for the environment. In the end, the only 1/2 inch insulation I could find was polyiso so that made the decision easy. I bought three 4×8 panels. The van floor is around 60 sq. ft so I could have technically gotten away with two panels, but I wanted my floor to have as few seams as possible to avoid potential soft-spots.
To further help avoid soft-spots I decided to orient the insulation panels length-wise as I knew the plywood would be oriented width-wise, thus ensuring the seams in the insulation did not line up with the seams in the plywood.
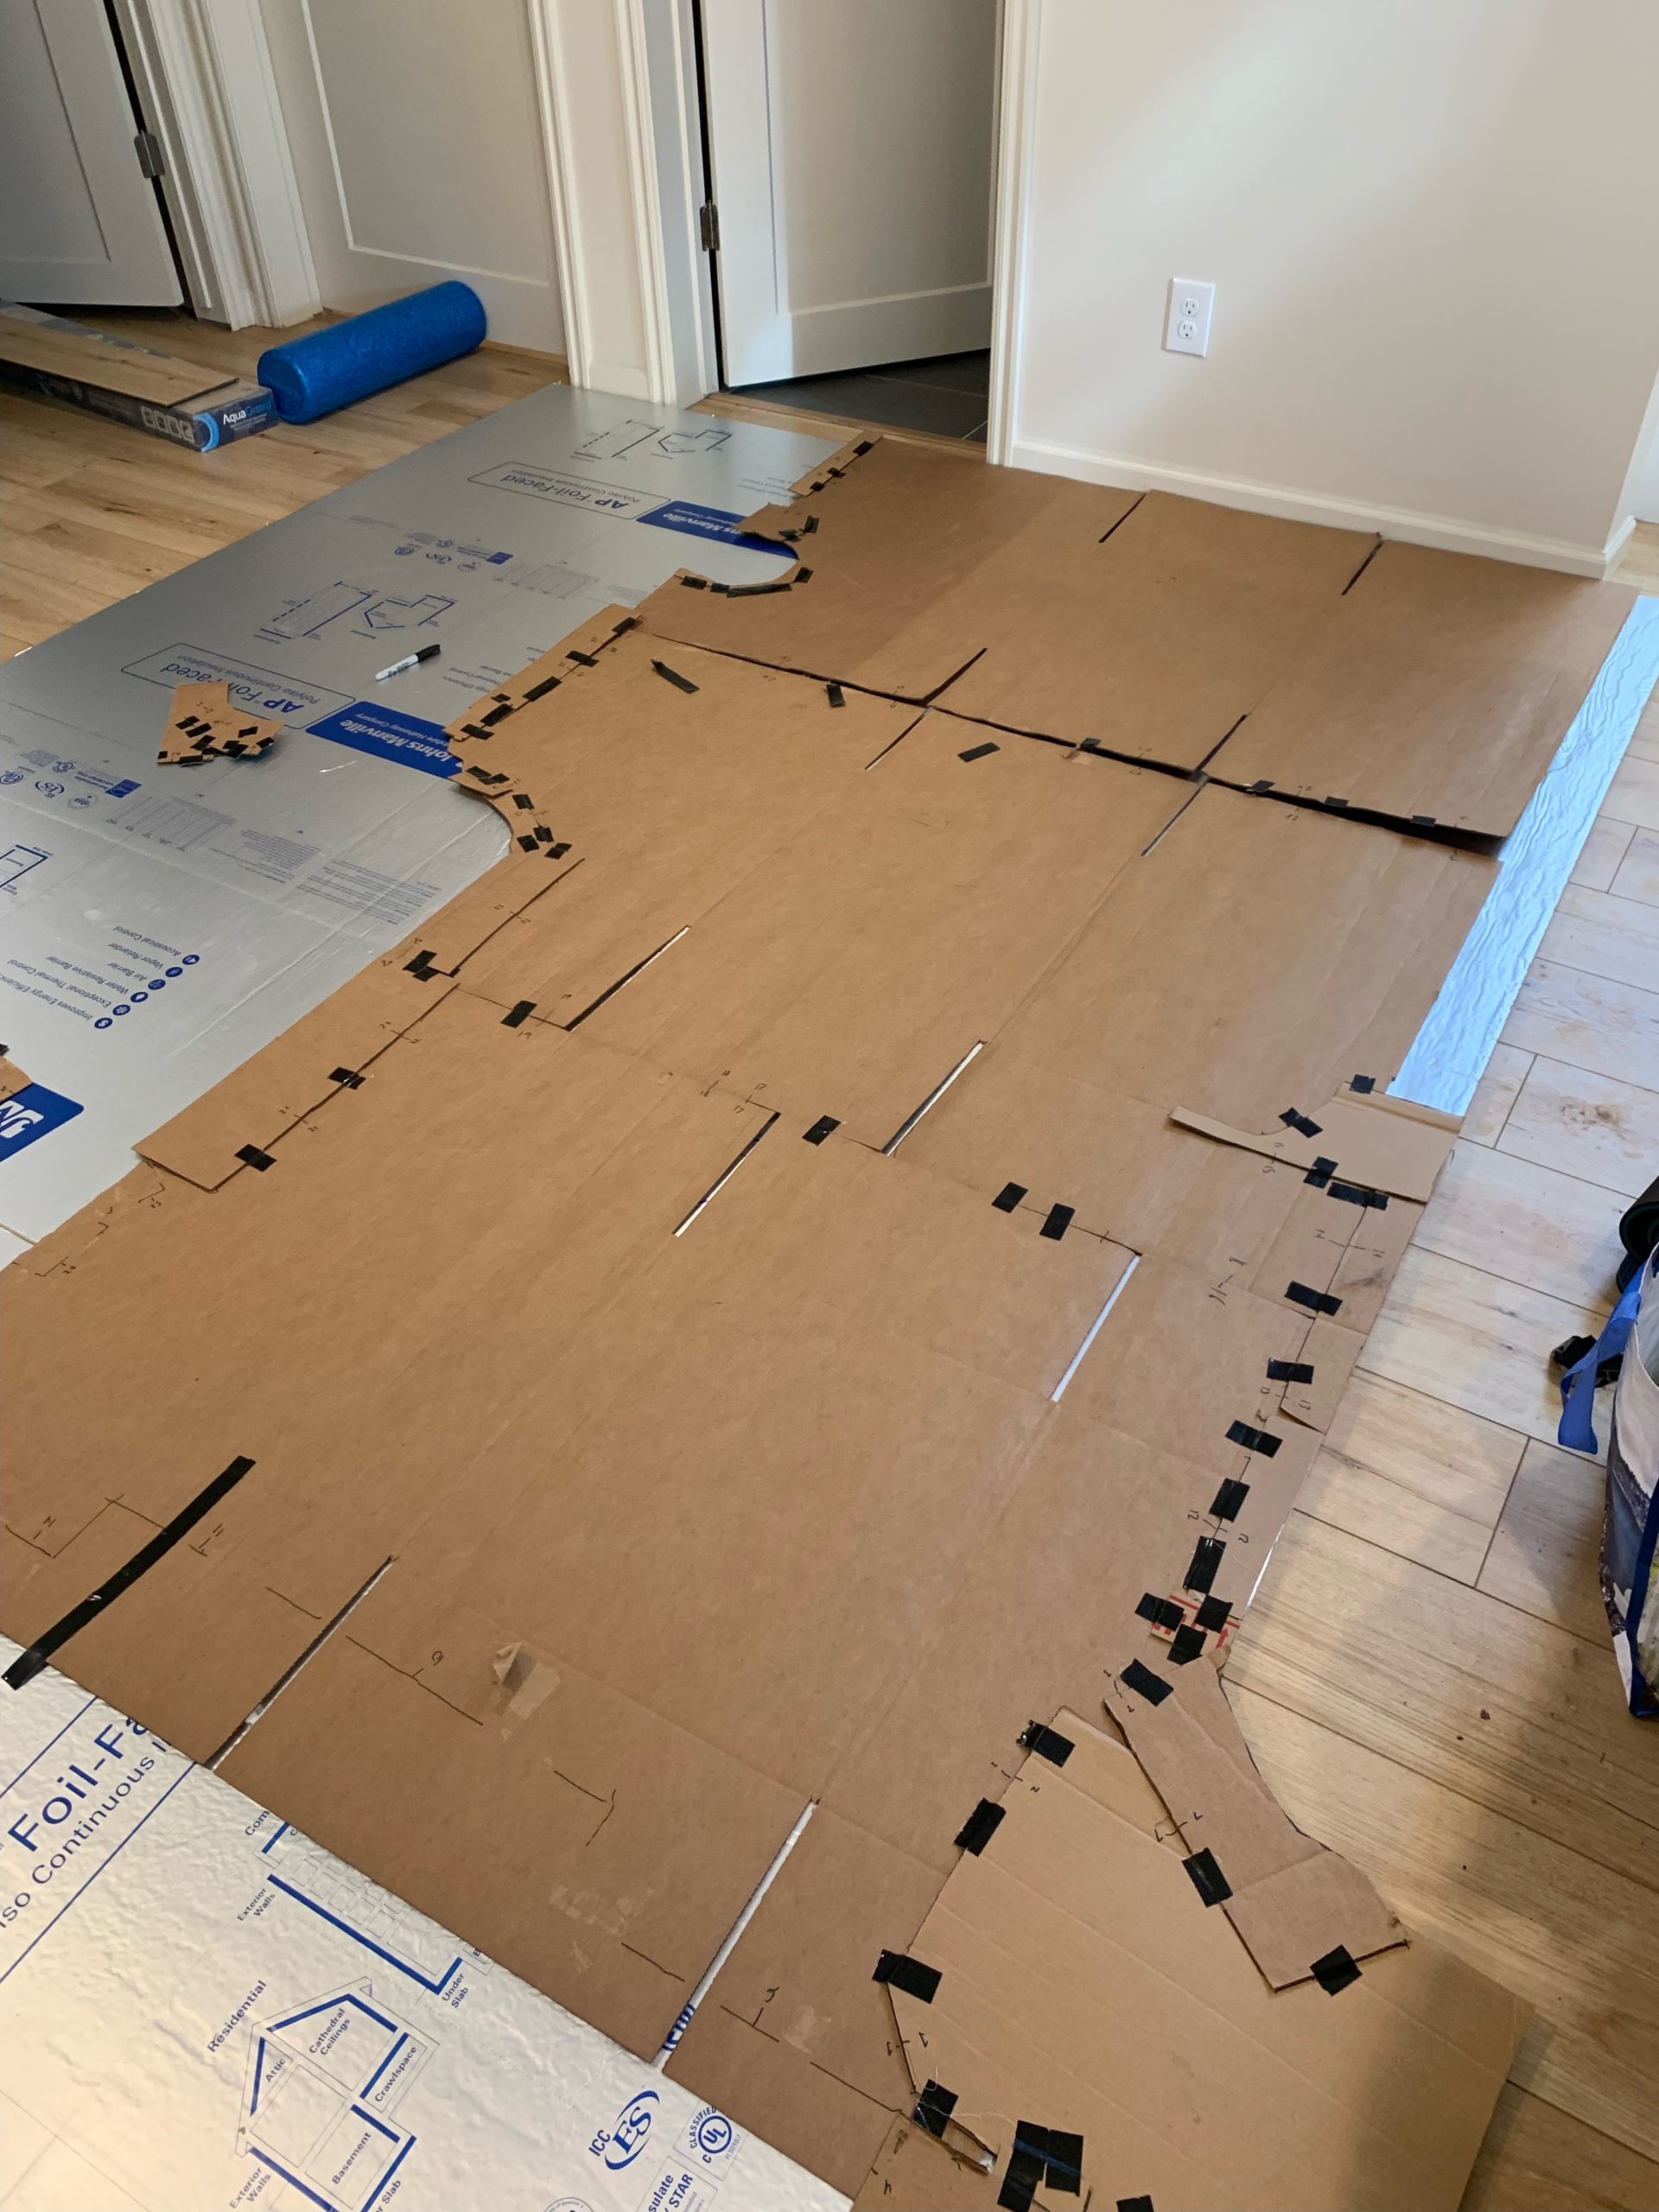
I cleared out enough space indoors to allow me to put all three panels together and then I laid the cardboard template on top. As a final effort against soft-spots I aligned the template against the passenger side panel as my planned design will have a counter built on the driver side. Once I was satisfied with the alignment, I traced the border and removed the cardboard.
The polyiso turned out to be fairly easy to work with and soon enough I had the three pieces cut out. I was thrilled to find that they all sat perfectly on the floor.

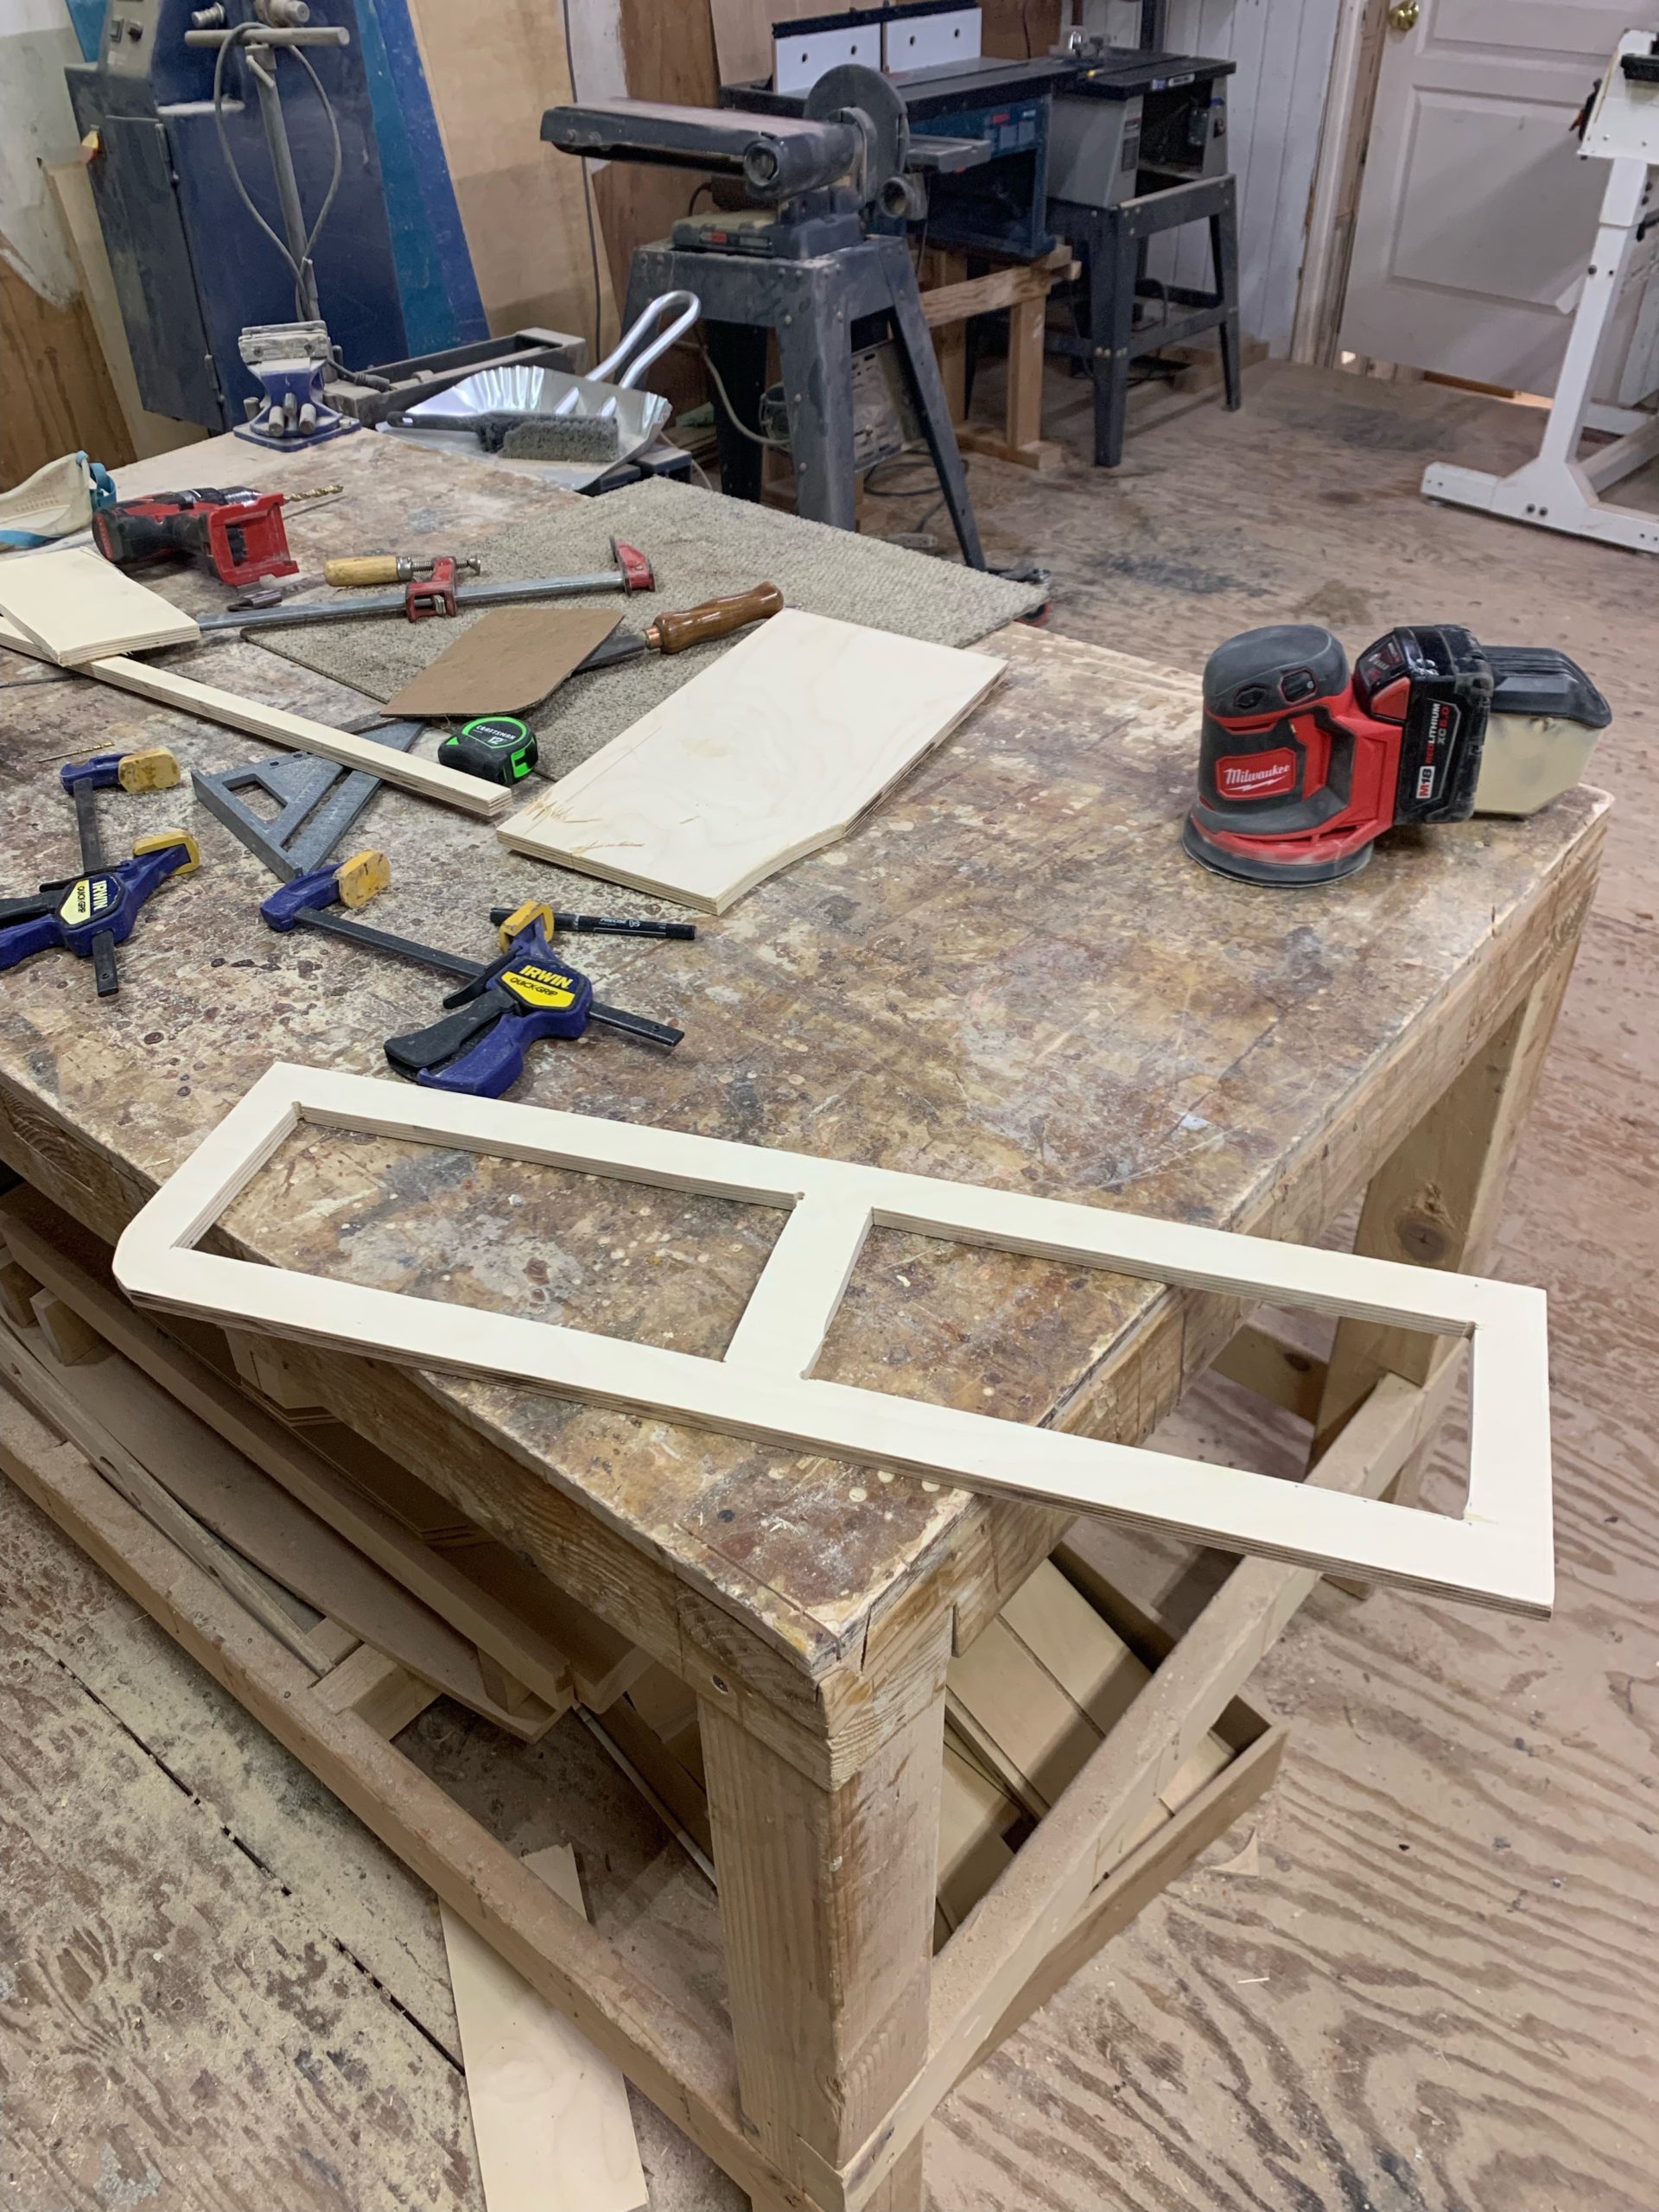
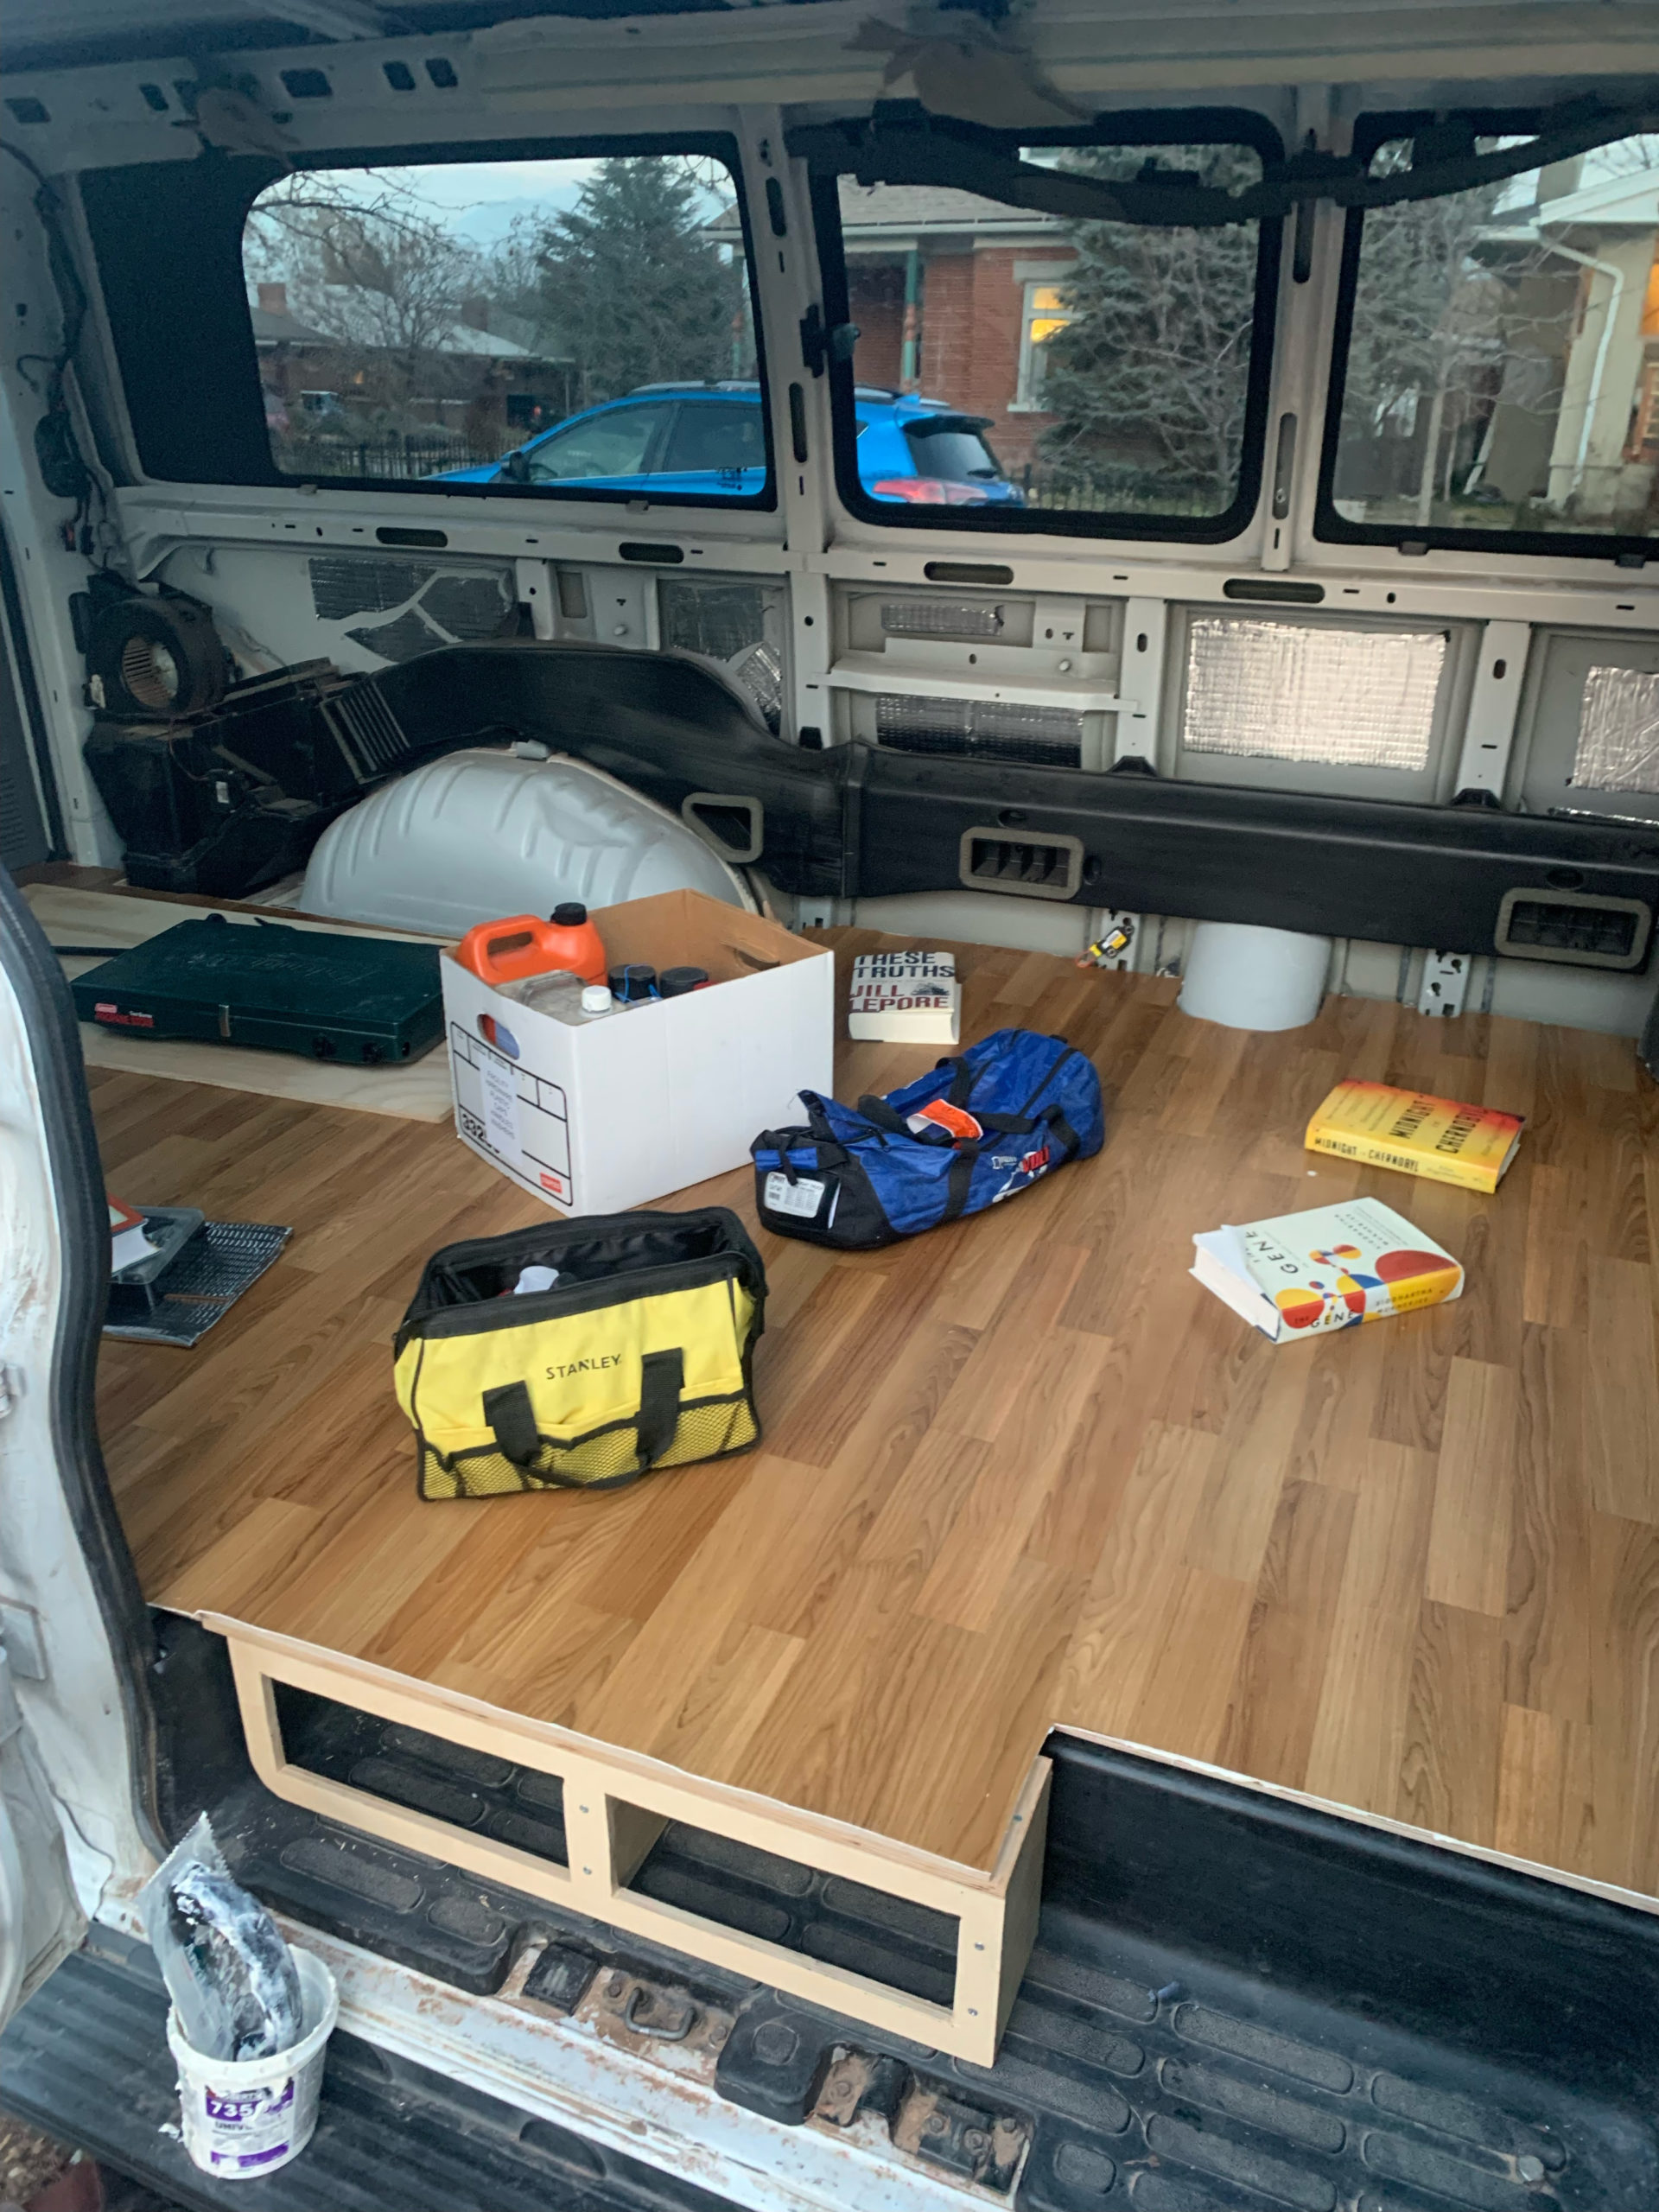
While working on the floor I realized it would be nice to utilize some of the space taken up by the entry-way footwell. I decided to build a little shoe cubby that would also act as a support for the plywood to extend out over the footwell.
In preparation for the van build I got a monthly membership at the awesome Make Salt Lake. I figured this shoe cubby would be a great first woodworking project to learn how to use the tools. I made the face out of some 1/2-inch Baltic Birch plywood, and added two arms to help keep the face stable and support the floor.
The cubby was good learning opportunity, and, despite some imperfections, it came together nicely in the end.

With the cubby done it was time to cut the plywood that would make up the sub-floor. I debated what type of plywood to use, but in the end I decided to go with the pricey 1/2-inch Baltic Birch Plywood. While perhaps overkill for a sub-floor, the durability and warp-resistance of this higher quality plywood won me over in the end. I wanted to go with 1/2-inch plywood for height and weight reasons, and I would happily pay some extra money if it helps prevent any floor issues in the future.
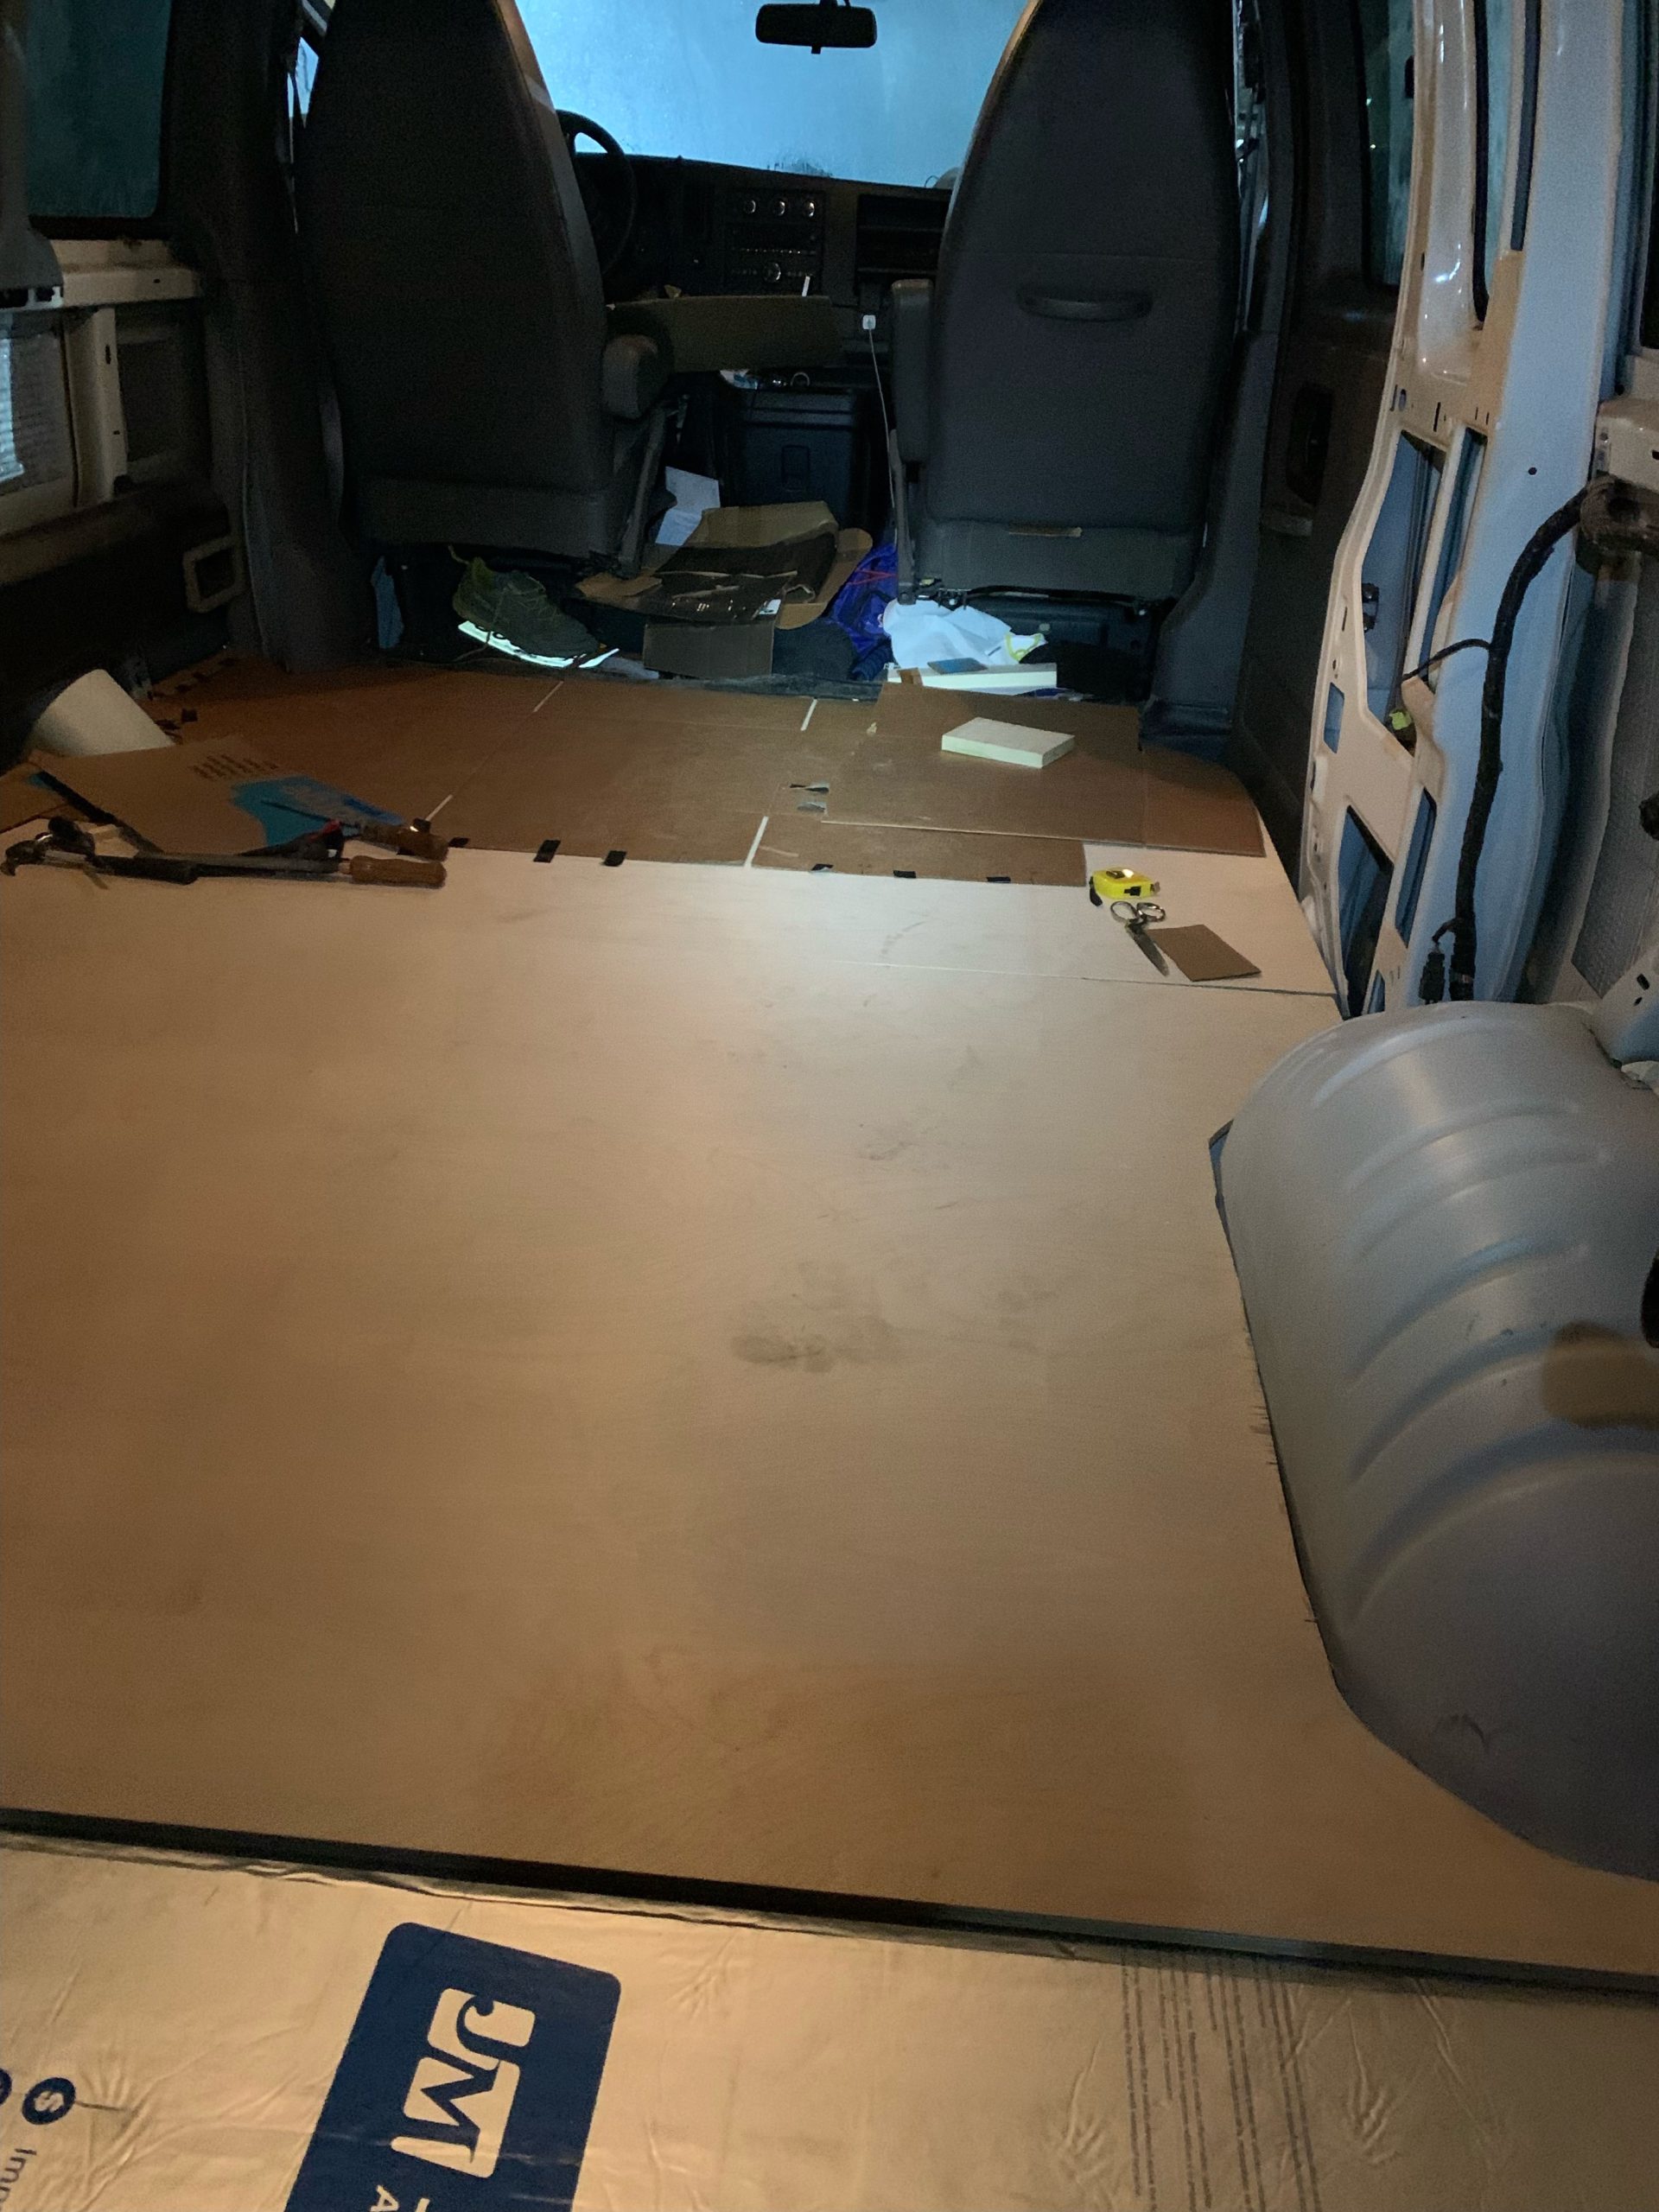
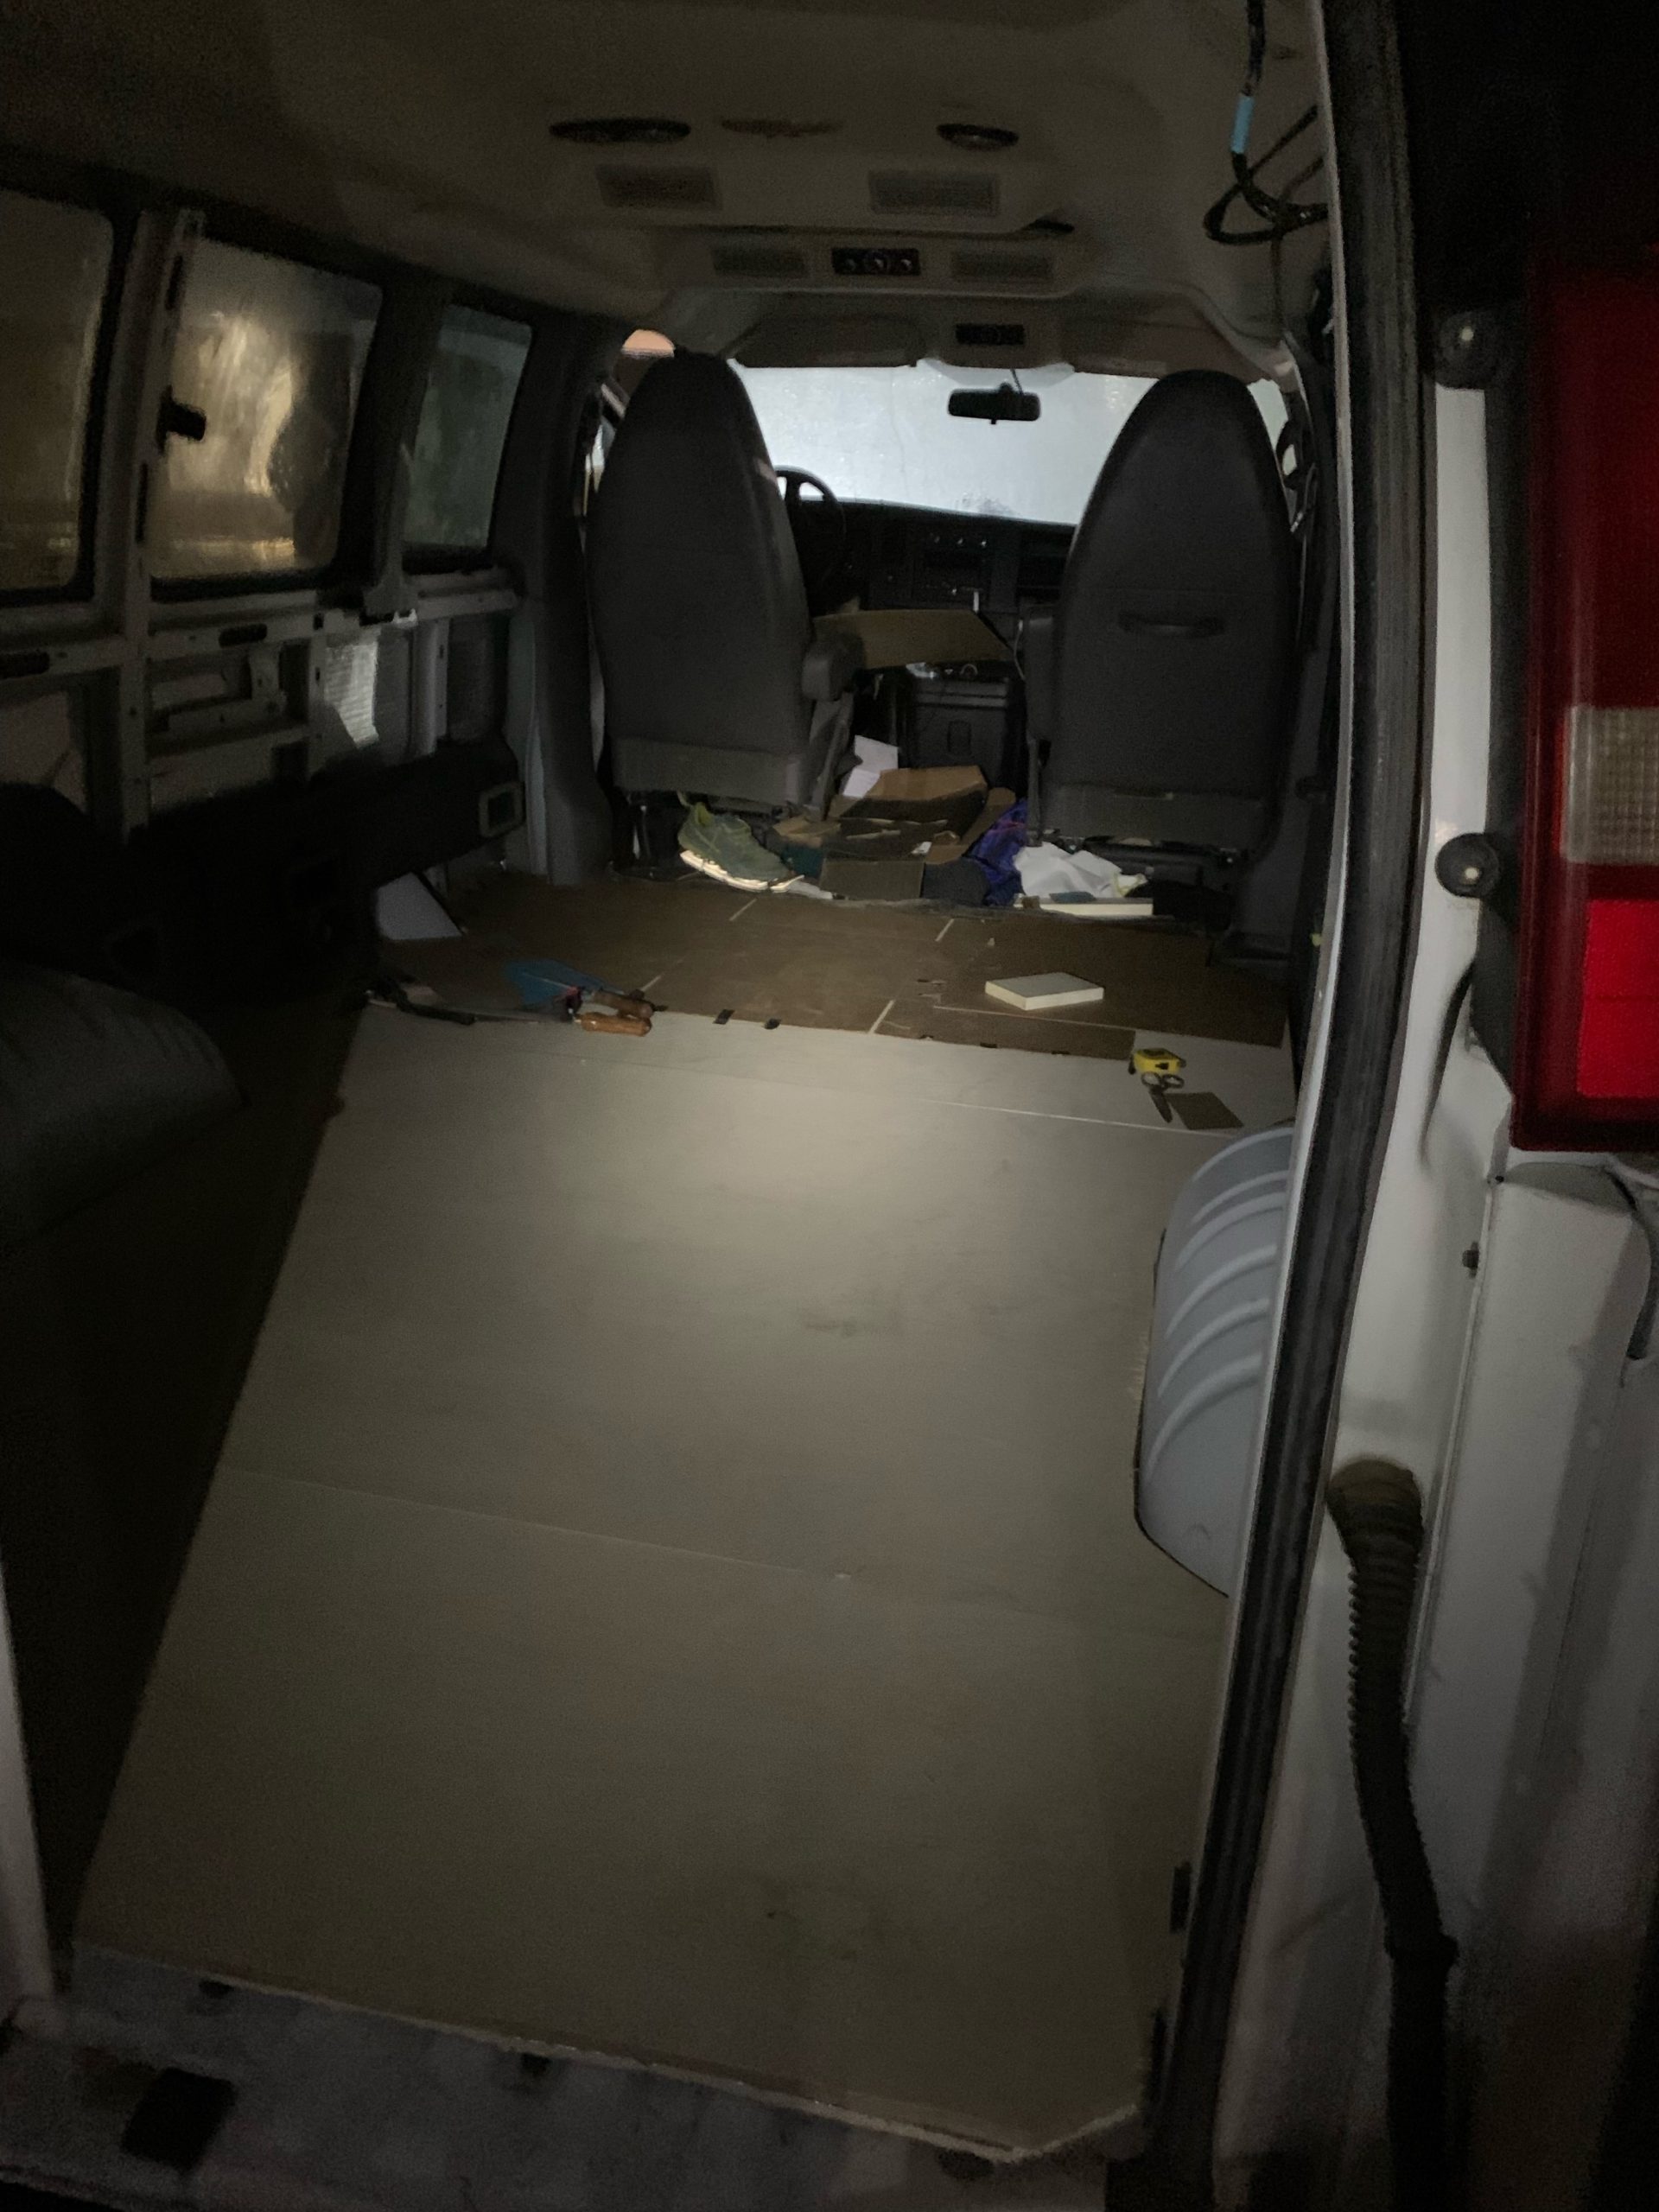
I extended the cardboard template to account for the shoe cubby and laid the template onto the first piece of plywood. After tracing the shape onto the wood, I used a jigsaw to cut out the panel. I was relieved when I slid it in and saw that it was a perfect fit.
I placed the template back on top of the plywood and marked where the board ended. I placed this mark on the edge of the next board to trace the template, ensuring that the existing straight-cut edges would face each-other, guaranteeing a flush fit. After cutting the second sheet, I repeated this process again with the third sheet of plywood.
With the insulation and boards cut, I was ready to put the floor in for good. I did a deep clean of the floor, first vacuuming and then scrubbing with soapy water, to get out as much dirt and dust as possible and I touched up a few worn spots with some Rust-Oleum.
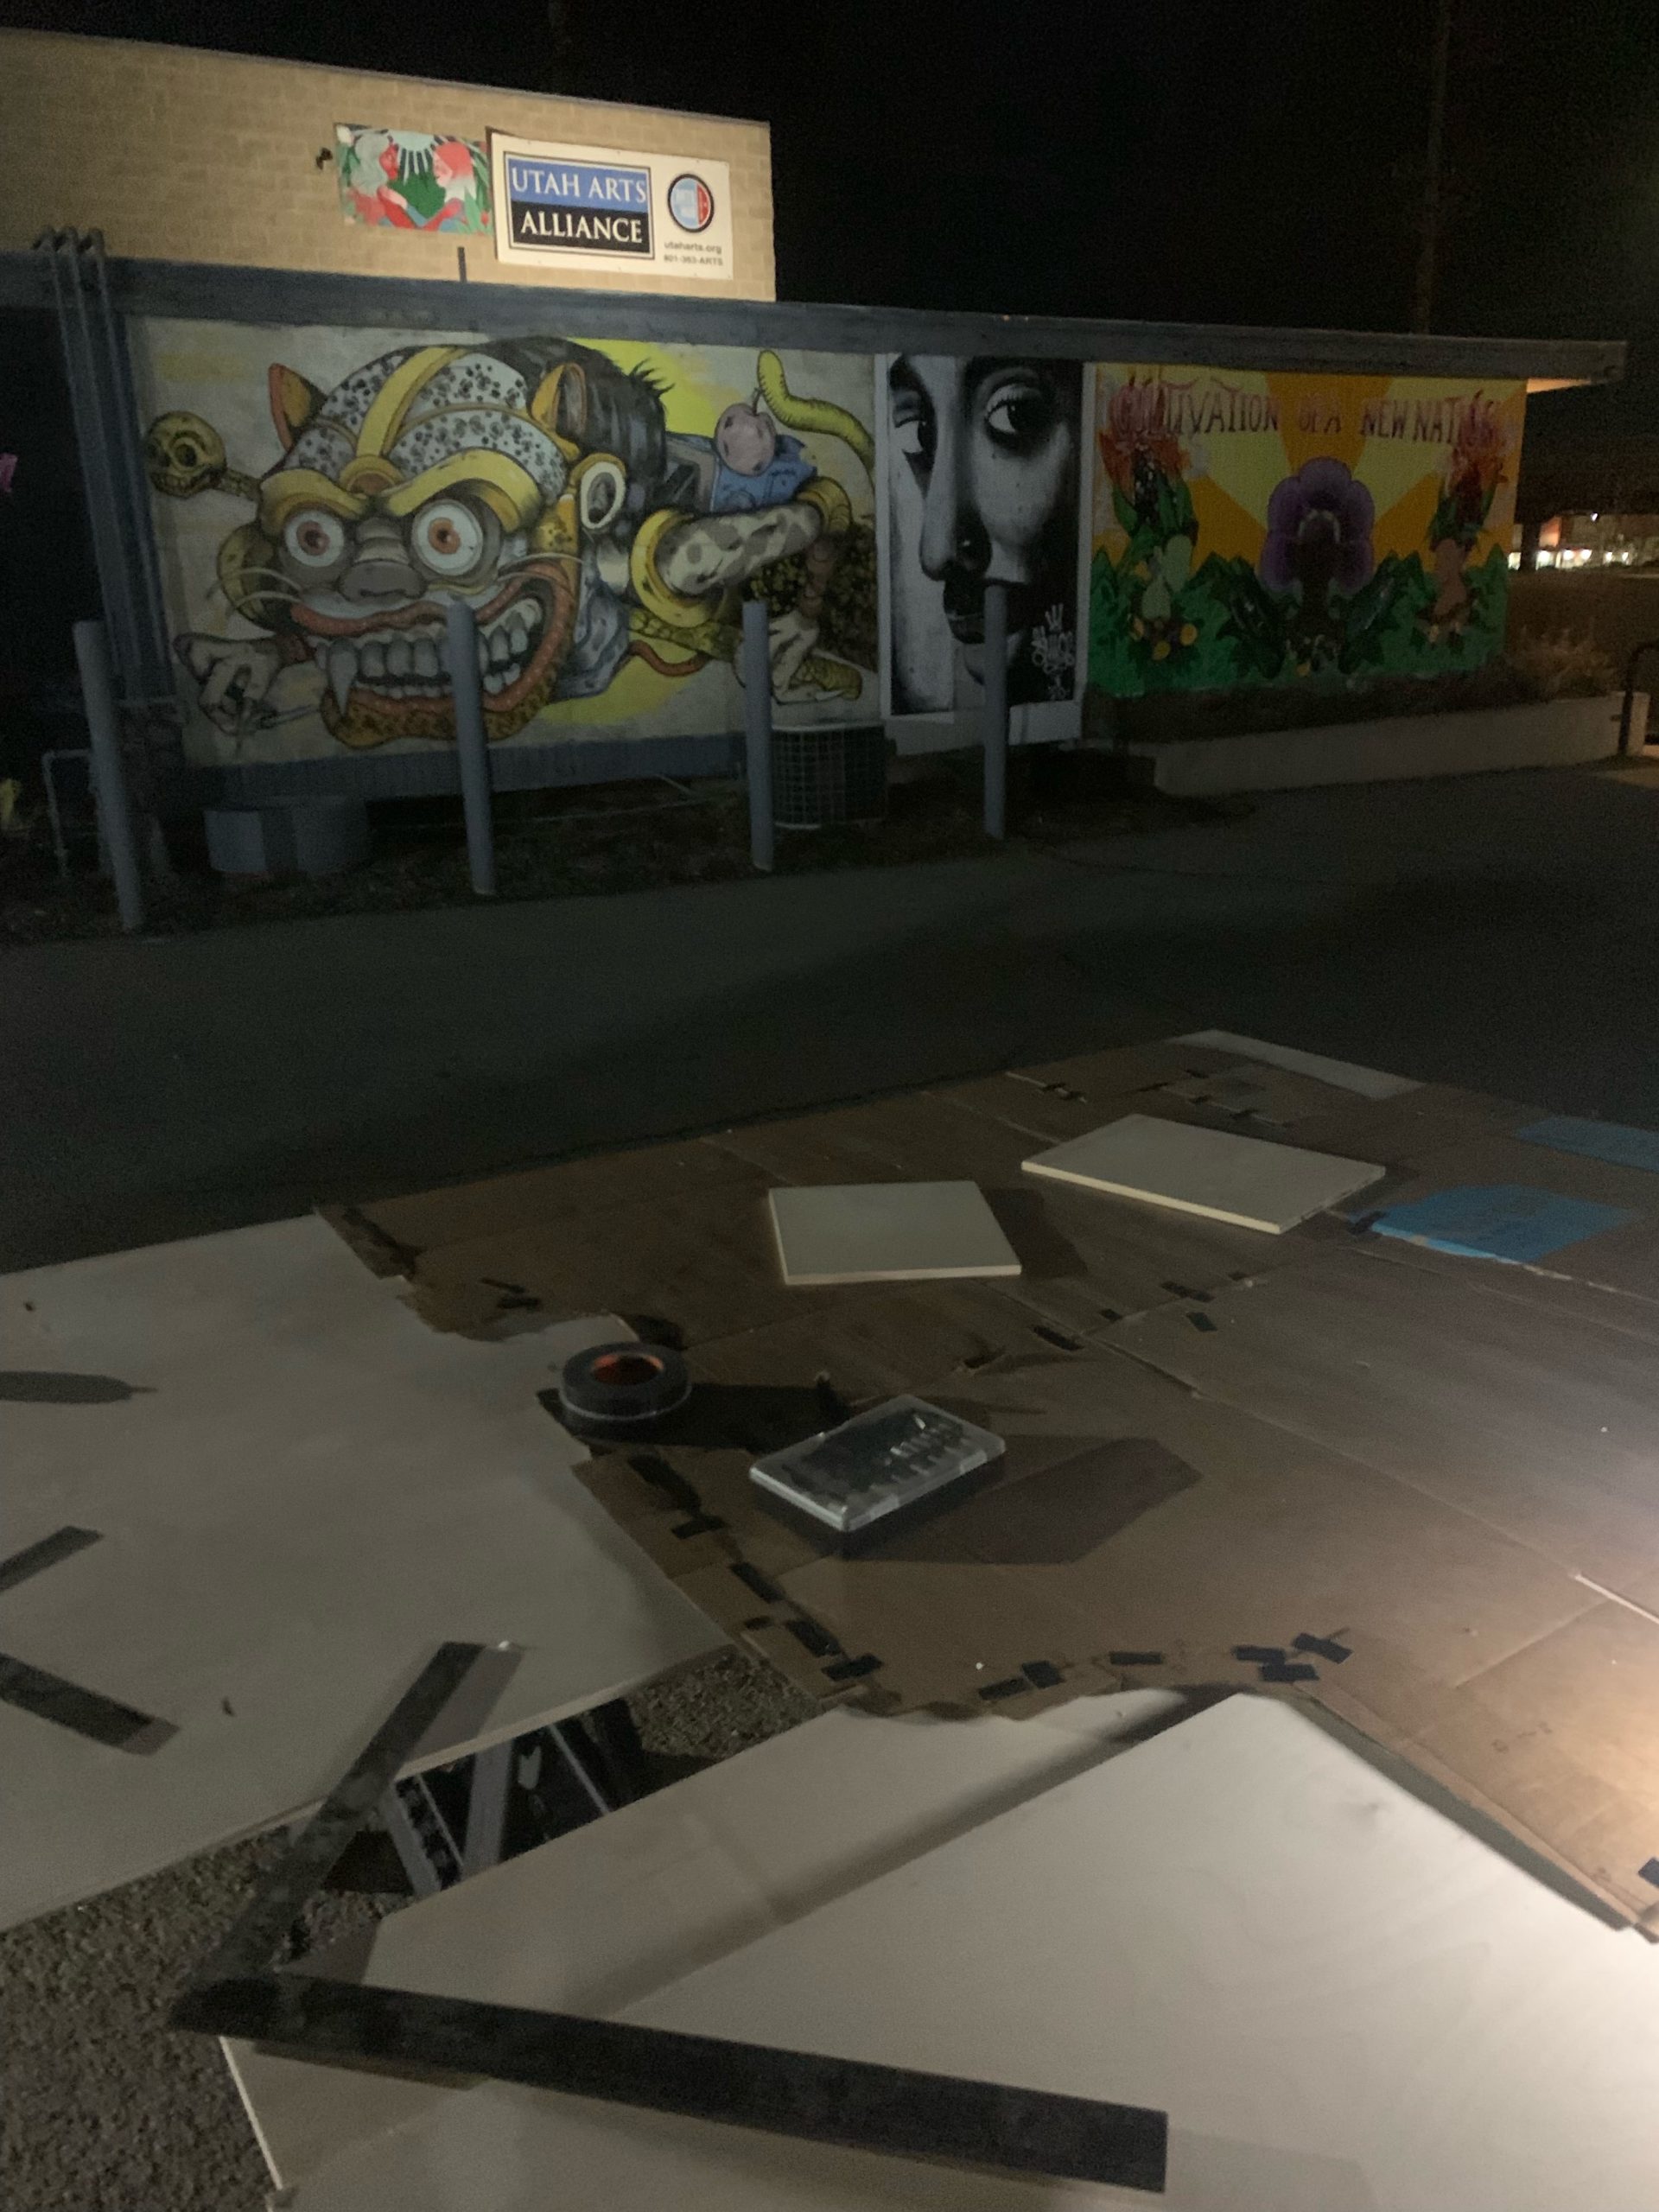
Before putting the plywood sheets into their final resting place, I laid them out on the back patio to use as a template to cut the vinyl sheet top-floor down to size. I had originally been drawn towards vinyl tiles as I have negative tensile intuition and I am notoriously bad at dealing with large sheets of fabric. But I received the advice that a vinyl sheet would be more durable and offer better moisture protection so I decided to face my fears and go the single-sheet route.

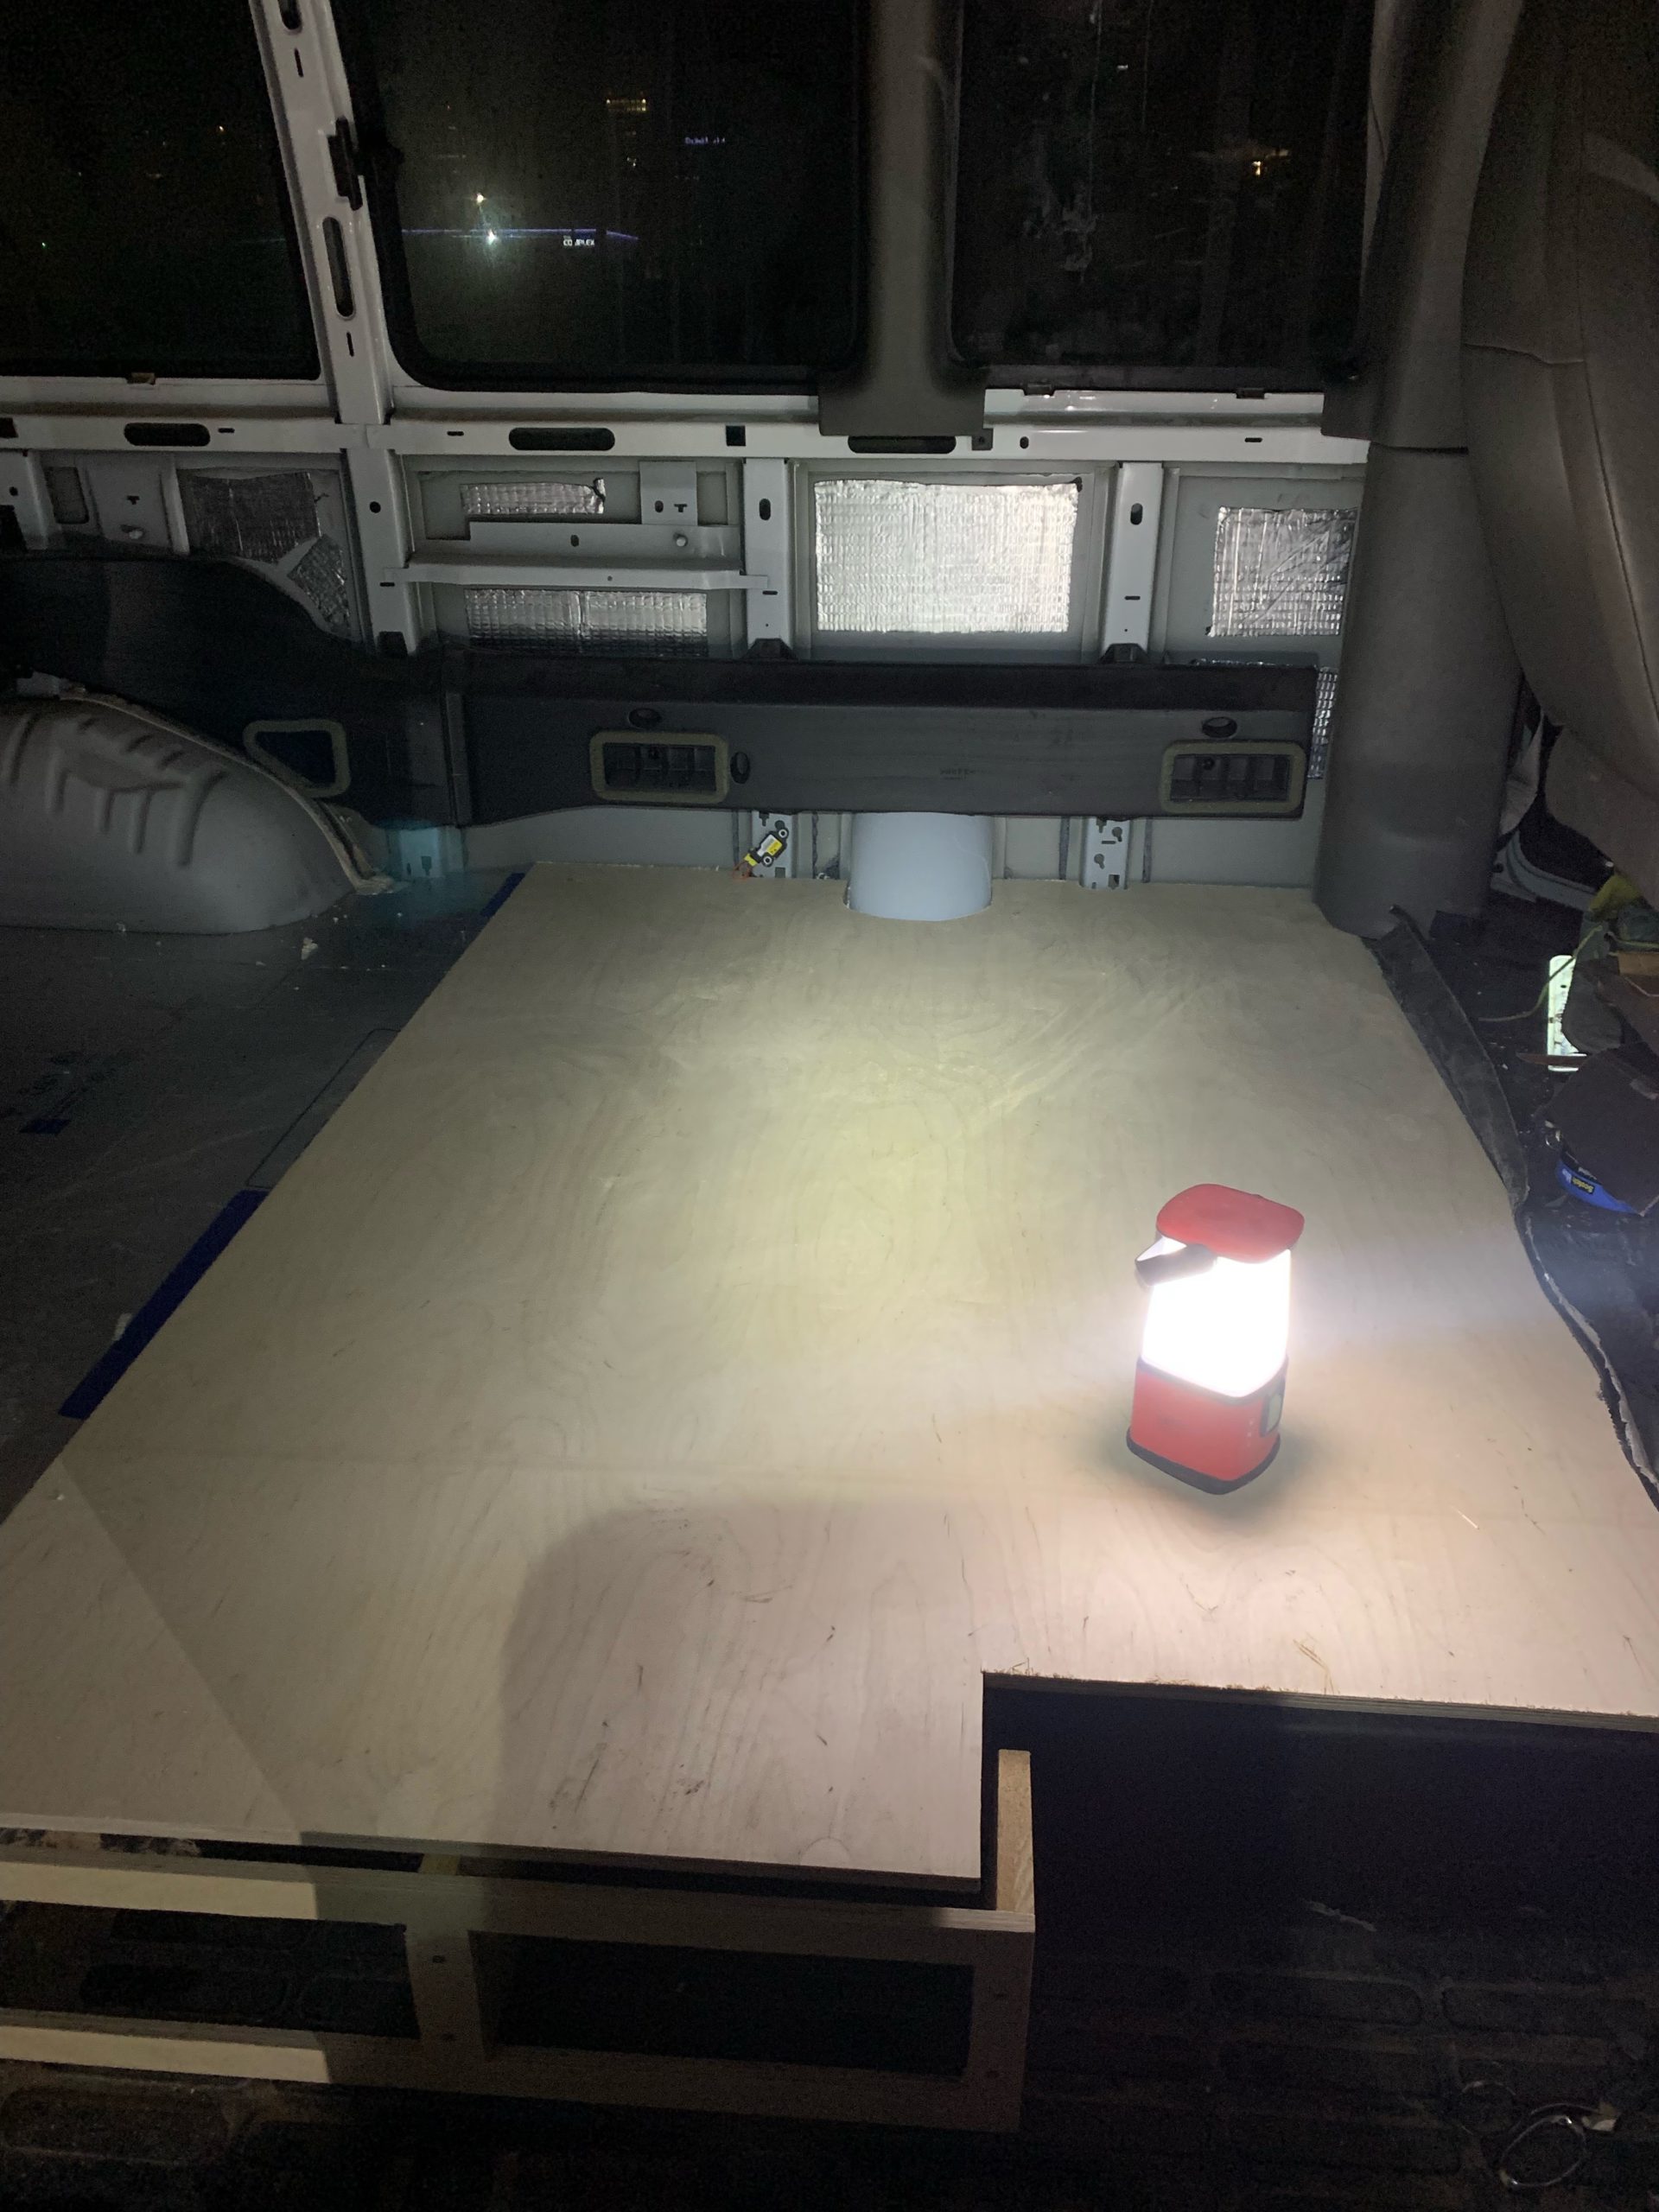
The insulation and plywood went in smoothly. I taped the seams of both the insulation and plywood to help prevent soft-spots, and I screwed the first sheet into the shoe cubby to ensure things didn’t shift.


With the sub-floor now completely in, I took a quick drive to check for any obvious squeaks. Things sounded good, but walking on the floor I did notice a squeak where the plywood rubbed against one of the wheel wells. Unwilling to remove everything to trim it down I took a chisel to the wood and carved away the plywood until I could walk around the floor with no squeaks.
One I was satisfied with the results it was time to lay down the vinyl. I placed the vinyl in the van to double check fit. Satisfied, I rolled up an end and spread some flooring adhesive. The adhesive ended up growing tackier much more quickly than expected so I stuck down the vinyl almost as soon as I was done spreading the adhesive. Getting the vinyl lined up properly was a bit of challenge, but once I was satisfied I rolled out any air bubbles and started on the next section.
I glued down the remaining vinyl in two more sections, both easier than the first as the vinyl was already lined up. Once the gluing was done I placed some weights on the floor and let it sit for 12 hours to ensure the glue dried fully.
In the end I’m thrilled with how the floor turned out. I can already tell the vinyl floor will be much easier to maintain than the carpet that came in the van, and seeing the finished floor is super motivating to continue on the build.
Some thoughts:
* Don’t worry so much about being so exact with templating. A gap from the metal is necessary to prevent squeaking and all the edges will be hidden by cabinets or trim.
* Time will tell if I regret not gluing down the insulation or plywood. For now the floor seems solid and things are squeak-free.
* It may have been better to lay out the insulation horizontally and the plywood vertically. This would have ensured that the floor under the entire living space was one piece of plywood.
Cost Breakdown:
| Cost | |
| Item | |
| Sound Deadening Mats | $61* |
| (3) 4×8 1/2 inch Polyiso Insulation | $33* |
| (3) 4×8 1/2 inch Baltic Birch Plywood | $393* |
| Vinyl Sheet Flooring | $76 |
| Vinyl Adhesive | $19 |
| Total | $582 |
Leave a Reply